How to Diagnose & Repair a PC Power Supply in 5 Easy Steps
Your PC’s power supply unit (PSU) is the unsung hero of your entire PC setup. From a consistent flow of electricity to keep your components running smoothly and everything in between, the PSU keeps you intact! But what happens when it just crashes unexpectedly? The first thought that jumps to mind is to look for a reliable PC power supply repair service at affordable prices!
From random shutdowns to a computer refusing to turn on, power-related issues can leave you scratching your head. The good news? You don’t always need to replace it immediately. With the right tools and some expert guidance, you can diagnose and repair PC power supply unit on your own.
This guide will walk you through five simple steps that combine troubleshooting and smart PSU repairs without any expensive costs to align your system like before!
Why Power Supply PC Repairs Are In Trend Nowadays?
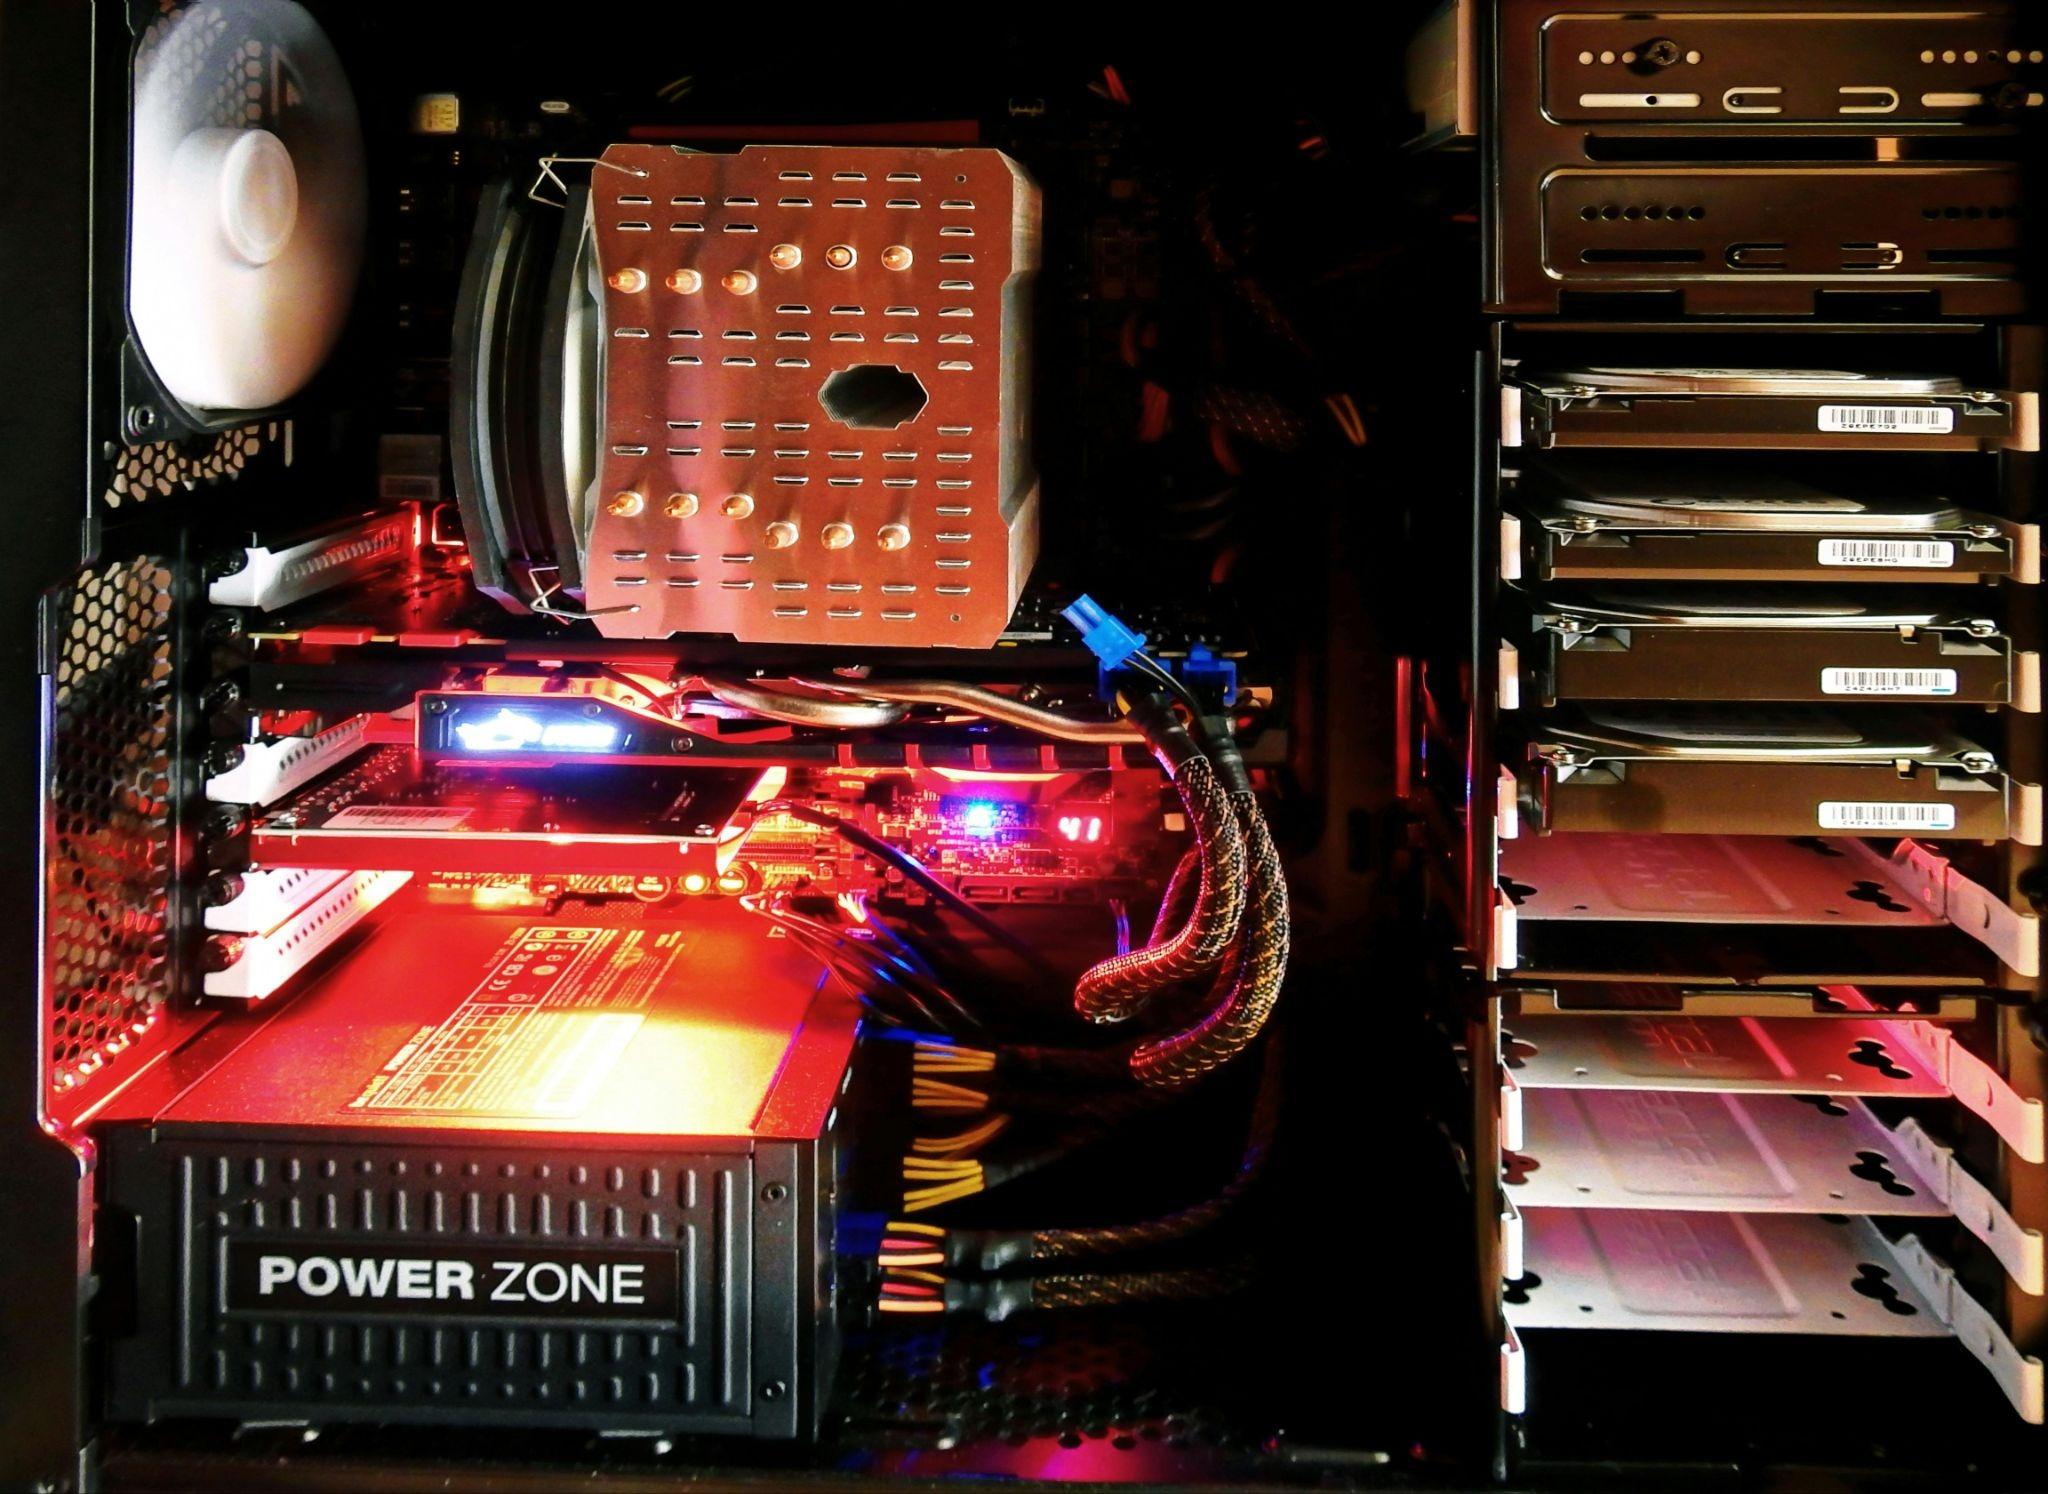
If you jump inside a PC power supply, a lot is going on!
Behind the sleek PC exterior, the power supply unit (PSU) takes up the electricity from your wall socket. It then turns into usable power for your PC. Without a working computer supply, your PC will not boot up or may even damage other hardware components. Simply, a faulty power supply can lead to:
-
Random shutdowns/reboots.
-
Incorrect voltages turn the CPU, GPU, or motherboard performance down.
-
A sudden loss of power can be a productivity nightmare for you.
Step 1: Spot Out All Symptoms of a Faulty Power Supply
Before jumping into tools, the first step of PC power supply repair service is the RIGHT DIAGNOSIS! Whether you're a beginner or expert PC repair technician, keep an eye on all the possible warning signs linked to power supply problems:
-
Your computer doesn’t turn on. No matter how hard you press the power button.
-
Fans and drives fail to spin, leading to a lack of +12V.
-
Intermittent crashes, shutdowns, or reboots.
-
Burning smells/flickering power indicators on the case.
Is your laptop/gaming PC/computer showing any of these signs? Time to dig deeper so you can avoid expensive pc power supply repair costs at some random local computer repair shops in your area.
Step 2: Visual Inspection Creates a Clear Picture
A visual inspection is the key to revealing all the hidden culprits, often revealing the extent of PC damage. There's a list of some visual indicators that suggest physical damage. Here’s what to look for:
-
Capacitors bulging or leaking fluids mean something is wrong with the power supply.
-
Look for broken power cables, melted insulation, or corrosion.
-
Dark patches on the power cables or connectors indicate overheating.
-
Many PSUs have an internal fuse. Although they protect the PSU, you must replace them if they burn out.
Step 3: Test the Power Output Immediately
It’s important to test the power output of your PSU as soon as you can. This will help determine if it is indeed the source of your problem. To do this, you’ll need a multimeter and a spare computer fan. Here’s how to test the power supply output:
-
Unplug the PSU from all devices.
-
Connect the positive (red) lead of your multimeter to one of the yellow wires on the 24-pin motherboard connector.
-
Connect the negative (black) lead to any black wire on the same connector.
-
Turn on your PSU by flipping its switch or pressing its power button.
-
Read the voltage displayed on your multimeter and compare it
To determine if the power supply unit is working, step into testing mode. Here’s how:
-
Unplug the PSU: Safety first. Turn off the PSU switch and unplug it from the outlet.
-
Use a digital multimeter: Set it to DC voltage mode and measure across the PSU connectors: the red lead to any yellow wire on the 24-pin power connector, and the black lead to any black wire. The reading should be:
-
Yellow Wire to Black Wire (12V Rail): Should read +12V.
-
Red Wire to Black Wire (5V Rail): Should read +5V.
-
Orange Wire to Black Wire (3.3V Rail): Should read +3.3V.
-
Check for noise or ripple voltage: If there is more than a one-tenth of a volt (0.1V) of AC ripple, your PSU might be in danger right now.
-
Test each power supply rail: Repeat Step 3 with every color wire you can find on every plug coming from your PSU.
If any voltage is far off from these reference values, your PSU is likely faulty. With no multimeter? You can use a power supply tester, available for cheap online. This device simulates a load and flags any possible issues with your power lines through LEDs.
Step 4: Identify the Crook for Accurate PC Power Supply Repair Service
Diagnosing your faulty PSU doesn’t always have to mean replacing it outright. Identifying and replacing damaged parts can save an expensive pc power supply repair service. Have spare parts like transistors and capacitors from a previous repair kit, or purchase them online to save some time. Focus on:
-
The cooling fan: A stuck fan will cause overheating, leading to PSU failure. Test it with an external power source or spin it manually.
-
Switching transistors: Use a soldering iron to detach key transistors from your PSU PCB. Check for continuity and replace if they fail.
-
Capacitors: A dead electrolytic capacitor causes ripple voltage issues. Modern guides recommend using low-ESR capacitors for replacements.
Step 5: Repair + Reassemble = A Healthy PSU
If your PC power supply repair cost adds up to less than buying a brand-new PSU. Congratulate yourself on a job well done! Time to pop it back into your setup. Ensure all connections inside are solid. Double-check that wiring paths are clear of any moving fans. Before connecting it back to your PC, do another voltage test for assurance.
Final Thoughts
Diagnostics and repair PC power supply units doesn’t have to be rocket science. With the right tools, a clear picture of the steps outlined above, and some patience, you can handle PSU problems like a pro. B
If you’re still unsure about tackling PSU repairs yourself or worried about how to repair power supply, consult a trusted repair service shop like Eastern Laptop Repair in Las Vegas for additional support. Looking to supercharge your DIY repair skills? Start taking control of your PC’s performance today!
Categorieën
Read More
Search rankings change constantly because every industry competes aggressively for online visibility now. Businesses publish endless content daily, although many websites still struggle attracting stable organic traffic consistently. Good content helps heavily today, yet authority continues influencing search performance more than some marketers publicly admit online. Search engines evaluate...

Local Anesthesia Drugs Market: Trends, Growth, and Opportunities The global healthcare sector continues to experience rapid growth, driven by the rising prevalence of chronic diseases, increasing surgical procedures, and technological advancements in drug formulations. Among the key segments in pharmaceutical care, local anesthesia drugs have emerged as critical components, enabling...
You may have checked the value of your $100 Apple gift card in the morning and felt satisfied, only to come back later in the day and notice the rate has dropped. It can feel confusing, even frustrating, especially when you are trying to decide the best time to convert your card. Many Nigerians face this situation and often wonder why something that looks fixed in dollars does not stay fixed...

In today’s digital-first property market, authority is everything. Real estate professionals in the US are no longer competing only within their cities. They are competing globally for investors, buyers, and sellers. To build strong online credibility, visibility across trusted business listings sites is essential. These platforms help establish legitimacy, improve SEO rankings,...

Making Palo Alto Networks PCNSC Exam Study Simple and Stress-Free Preparing for the Palo Alto Networks PCNSC exam does not have to feel stressful or confusing. Many students struggle because they study too much without a clear plan. They read many resources but still feel unsure about what really matters for the exam. Choosing clear and trusted Palo Alto Networks PCNSC study material makes...