


Water Tank Cleaning Checklist
Introduction
A clean water tank is essential for providing safe and healthy water for drinking, cooking, bathing, and other daily activities. Whether you own a residential, commercial, or industrial property, regular water tank maintenance helps prevent contamination, improves water quality, and extends the lifespan of the storage tank. Over time, dirt, sediment, algae, bacteria, and other harmful substances can accumulate inside the tank, making routine cleaning an important part of property maintenance.
Following a detailed water tank cleaning checklist ensures that no step is overlooked during the cleaning process. A systematic approach helps remove contaminants effectively while maintaining the highest hygiene standards. This article provides a complete water tank cleaning checklist that can be used by homeowners, maintenance staff, and professional cleaning companies.
Why Use a Water Tank Cleaning Checklist?
Water tank cleaning tank involves several important steps. Missing even one step can reduce the effectiveness of the cleaning process and leave harmful contaminants behind.
A checklist helps you:
-
Ensure complete cleaning
-
Improve water quality
-
Maintain hygiene standards
-
Reduce health risks
-
Prevent equipment damage
-
Extend tank lifespan
-
Keep maintenance records organized
Using a checklist also makes routine inspections and future maintenance easier.
Before You Begin
Preparation is an important part of safe and effective water tank cleaning.
Before starting, make sure you have:
-
Protective gloves
-
Safety goggles
-
Face mask
-
Rubber boots
-
Soft cleaning brushes
-
High-pressure hose
-
Bucket
-
Wet and dry vacuum (if available)
-
Food-grade disinfectant
-
Flashlight
-
Clean water for rinsing
Having all necessary equipment ready helps complete the job efficiently.
Pre-Cleaning Inspection Checklist
Before draining the tank, inspect its overall condition.
✔ Check the tank lid for damage.
✔ Inspect the outside for cracks or leaks.
✔ Examine inlet and outlet pipes.
✔ Check overflow pipes.
✔ Look for signs of rust or corrosion.
✔ Inspect seals and gaskets.
✔ Check for insects or pest activity.
✔ Look for algae growth.
✔ Verify water quality if discoloration is present.
Document any damage that requires repair before cleaning begins.
Drain the Water Tank
The next step is to empty the tank safely.
✔ Turn off the water supply.
✔ Switch off connected water pumps.
✔ Open the drain valve.
✔ Remove as much water as possible.
✔ Dispose of wastewater responsibly.
Leave only a small amount of water to help loosen sludge during cleaning.
Remove Dirt and Sludge
Sediment naturally settles at the bottom of water tanks.
Checklist:
✔ Remove mud.
✔ Remove sand.
✔ Remove mineral deposits.
✔ Remove rust particles.
✔ Remove organic debris.
✔ Vacuum remaining sludge if equipment is available.
Completely removing sediment improves water quality and makes disinfection more effective.
Clean Interior Surfaces
After removing loose debris, clean every interior surface carefully.
Checklist:
✔ Scrub the floor.
✔ Clean all walls.
✔ Clean corners.
✔ Clean around pipe openings.
✔ Remove algae.
✔ Remove biofilm.
✔ Remove stains.
Use soft brushes to avoid damaging the tank surface.
Wash the Tank
After scrubbing, rinse the tank thoroughly.
Checklist:
✔ Use clean water.
✔ Wash every surface.
✔ Flush remaining dirt.
✔ Remove all cleaning residue.
✔ Inspect for missed areas.
Continue rinsing until the tank appears completely clean.
Disinfect the Tank
Disinfection eliminates harmful microorganisms that cannot be removed by scrubbing alone.
Checklist:
✔ Use approved food-grade disinfectant.
✔ Apply evenly across all surfaces.
✔ Allow recommended contact time.
✔ Follow manufacturer instructions.
✔ Avoid excessive chemical use.
Proper disinfection helps destroy bacteria, viruses, mold, and fungi.
Final Rinse
Before refilling the tank, perform a complete rinse.
Checklist:
✔ Remove disinfectant residue.
✔ Flush all surfaces.
✔ Inspect water clarity.
✔ Ensure no cleaning chemicals remain.
A thorough rinse protects the quality and taste of stored water.
Inspect the Tank Again
After cleaning, perform another inspection.
Checklist:
✔ Check for cracks.
✔ Check for leaks.
✔ Inspect pipe connections.
✔ Verify seals.
✔ Ensure lid closes properly.
✔ Look for corrosion.
✔ Confirm structural stability.
Repair any damage before putting the tank back into service.
Refill the Tank
Once the inspection is complete, refill the tank with clean water.
Checklist:
✔ Open water supply.
✔ Fill tank completely.
✔ Check for leaks during filling.
✔ Flush household taps for several minutes.
✔ Verify normal water pressure.
This helps remove any remaining particles from the plumbing system.
Maintenance Checklist
Regular maintenance keeps your tank cleaner between scheduled cleanings.
Monthly Checklist:
✔ Inspect the tank cover.
✔ Check surrounding area.
✔ Remove leaves and debris.
✔ Inspect for leaks.
✔ Monitor water quality.
Every Three Months:
✔ Inspect the inside of the tank.
✔ Check for sediment buildup.
✔ Look for algae.
✔ Inspect plumbing connections.
Every Six Months:
✔ Perform complete cleaning.
✔ Disinfect the tank.
✔ Replace damaged seals if necessary.
✔ Schedule professional inspection if required.
Safety Checklist
Safety should always be a priority.
Before entering or cleaning the tank:
✔ Wear protective clothing.
✔ Use gloves and boots.
✔ Turn off electrical equipment.
✔ Ensure proper ventilation.
✔ Use safe cleaning products.
✔ Never work alone in large tanks.
✔ Use stable ladders.
✔ Follow confined-space safety procedures.
Proper safety practices help prevent accidents and injuries.
Benefits of Following a Checklist
Using a structured cleaning checklist offers many advantages.
These include:
-
Cleaner drinking water
-
Better hygiene
-
Reduced health risks
-
Improved plumbing performance
-
Longer tank lifespan
-
Lower repair costs
-
Consistent maintenance
-
Peace of mind
A checklist helps ensure every cleaning is thorough and effective.
Common Mistakes to Avoid
Avoid these common mistakes when cleaning your water tank:
-
Skipping inspections
-
Using harsh chemicals
-
Leaving sludge behind
-
Not disinfecting properly
-
Forgetting to rinse thoroughly
-
Ignoring leaks
-
Delaying scheduled maintenance
Preventing these mistakes helps maintain a safe and reliable water supply.
Conclusion
Water tank cleaning cleaning checklist is one of the best tools for maintaining clean, safe, and healthy water. By following each step—from inspection and draining to scrubbing, disinfecting, rinsing, and routine maintenance—you can ensure your water storage system remains in excellent condition throughout the year.
Whether you are cleaning a residential, commercial, or industrial water tank, using a checklist helps improve water quality, reduce health risks, protect plumbing systems, and extend the life of your tank. Regular maintenance, combined with careful inspections and proper cleaning techniques, provides a dependable supply of fresh water for everyone who relies on it.
Категории
Больше
COLOKSGP dikenal sebagai platform yang menghadirkan standar modern dalam permainan toto 4d dengan sistem transparan dan pelayanan profesional. Sebagai situs togel terpercaya 2026, coloksgp menawarkan pengalaman bermain yang aman, stabil, serta mudah diakses kapan saja. Dengan dukungan teknologi terbaru, platform ini memberikan kenyamanan maksimal bagi pemain yang ingin menikmati permainan angka...

Polaris Market Research has introduced a new market research report entitled 3D Food Printing Market Share, Size, Trends, Industry Analysis Report By Ingredient (Dough, Carbohydrates, Proteins, Sauces, Dairy Products, Fruits & Vegetables, Others); By Vertical; By Technology; By Region; Segment Forecast, 2022 - 2030, which acts as a reliable resource for analyzing historic and forecast...
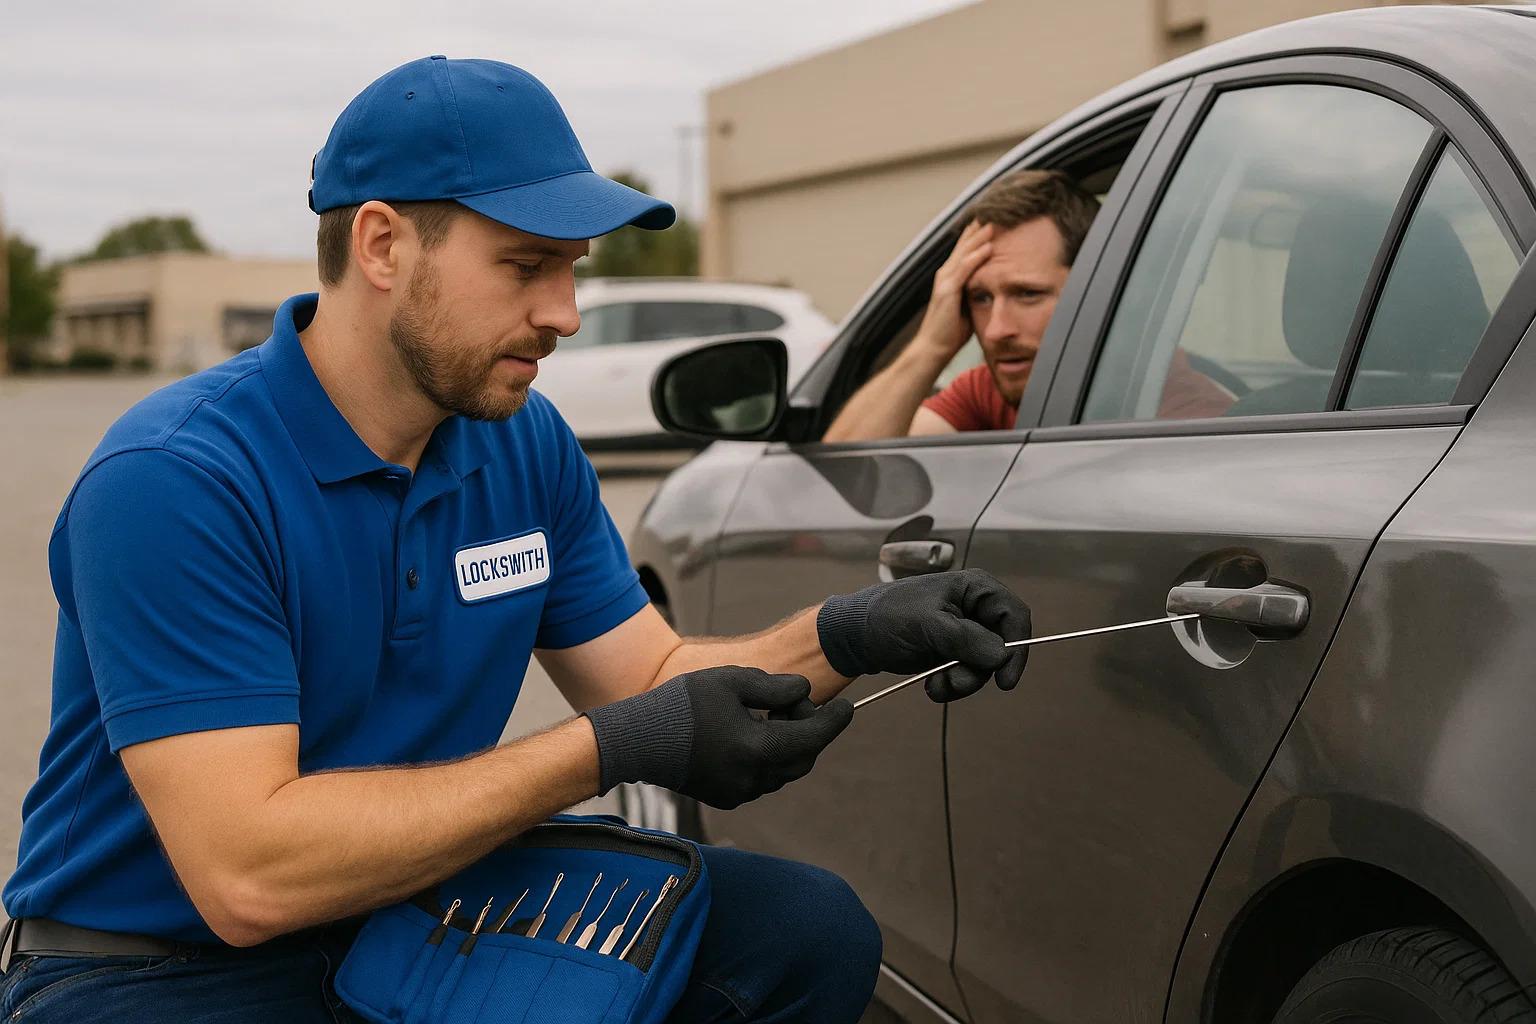
Automotive lock and key issues occur frequently, making locksmith services an essential need for vehicle owners in Bakersfield. From emergency lockouts to complex ignition repairs, locksmiths receive daily requests that highlight the importance of their expertise. Drivers depend on their skills to regain access, restore security, and keep vehicles operational without delay. Understanding these...
Pusokei router setup is the complete process of installing and configuring a Pusokei router to create a stable, secure, and high-speed internet connection for home or office use. It starts by physically connecting the router to a modem using an Ethernet cable and powering it on. Once the device is active, users can access the router’s admin panel through a web browser by entering the...

" According to the latest report published by Data Bridge Market Research, the Seaweed Based Packaging Market Data Bridge Market Research analyses that the seaweed based packaging market was valued at USD 180.78 million in 2021 and is expected to reach the value of USD 613.42 million by 2029, at a CAGR of 16.50% during the forecast period of 2022 to 2029.The universal Seaweed Based...