How to Optimize QuickBooks Desktop for Multi-Monitor Workflow?
Many QuickBooks users have got in a situation wherein the need of using Multiple screens was indispensable. To solve this problem, newer versions of QuickBooks have come up with a Multi Monitor mode, using which, one can use multiple screens. This feature is only available in new versions of QuickBooks, starting from “QuickBooks Desktop 2018”. This article will showcase the steps on how to use QuickBooks on Multiple Screens or in Multi-Monitor mode.
Steps to use QuickBooks on multiple screens or in Multi monitor mode
The simple steps to enable the mode are:
· Run QuickBooks as admin. [Right-click QB icon > Run as administrator].
· Go to View menu and click on “Switch to Multi-monitor mode”.
Some major limitations of using QuickBooks Multi-monitor Mode
· When using Single View mode- When using Single view mode, Multi-monitor mode cannot be used.
· Opting for than DPI scaling setting- Setting the DPI to a level other than 100% DPI font scaling won’t allow this feature to work.
· Using Third-Party Multi-Monitor Programs- This feature is not compatible with programs like Display-Link, Display-Fusion, etc. Users should prefer the Windows native Multi-Monitor support.
· Tile or Cascade Windows- Multi-Monitor mode does not support switching to tile or cascade windows.
· Moving the main program window is prohibited- With this feature turned on, the main program window cannot be moved.
· Horizontal alignment is a prerequisite- Every monitor connected should be in horizontal alignment.
· Incompatibility with the Hosted Environment- QB should not be run in the host environment such as Summit Hosting. This can cause issues when running the multi-monitor mode feature.
Categorie
Leggi tutto
Printing Software Market Overview The Printing Software Market is growing steadily as businesses increasingly shift toward digital printing solutions, automation, and smarter document management systems. Printing software helps organizations manage print jobs, control printer operations, reduce paper waste, and improve workflow efficiency. It is widely used in offices, publishing...

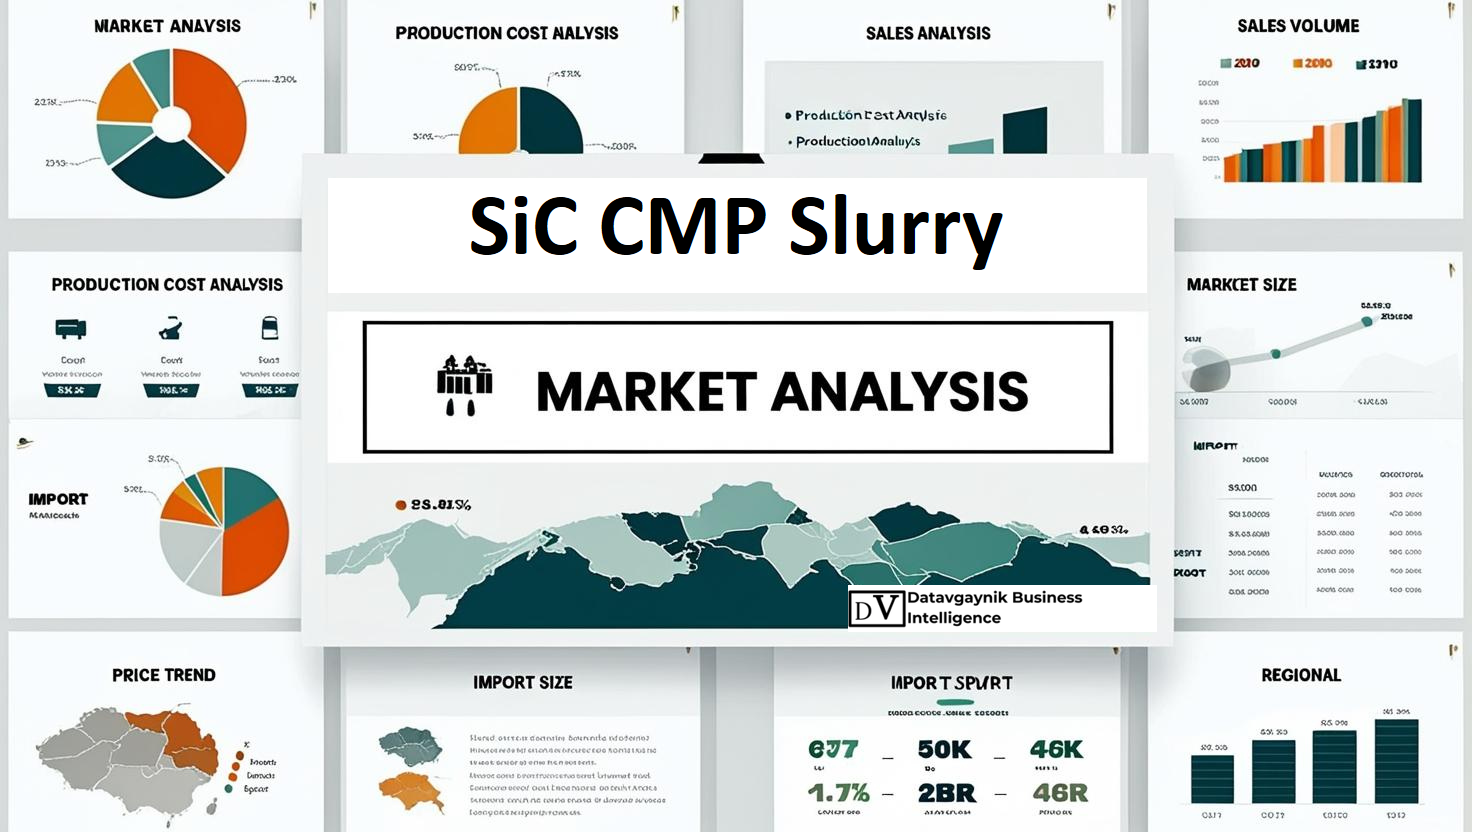
SiC CMP Slurry and the Infrastructure Race Behind High-Voltage Semiconductor Manufacturing The global semiconductor industry is entering a phase where material science is becoming more important than transistor scaling alone. In this transition, SiC CMP Slurry has quietly become one of the most strategic consumables in advanced power electronics manufacturing. Every...
The global Radioimmunoassay Market Size is valued at USD 1.20 billion in 2025 and is expected to reach USD 1.93 billion by 2035, growing at a CAGR of 4.89% during the forecast period from 2026 to 2035. The market continues to demonstrate stable growth due to its critical role in sensitive and accurate detection of hormones, drugs, and biological substances. Radioimmunoassay (RIA)...

Michael B. Jordan and Juno Temple are gearing up to bring a fresh twist to animated storytelling, stirring excitement among fans. Their upcoming project, titled Swapped, is set to debut on May 1 and promises an adventure filled with humor and surprises. This film, reminiscent of Freaky Friday, explores the concept of body swapping in a vibrant, fantastical setting. Produced by Netflix and...

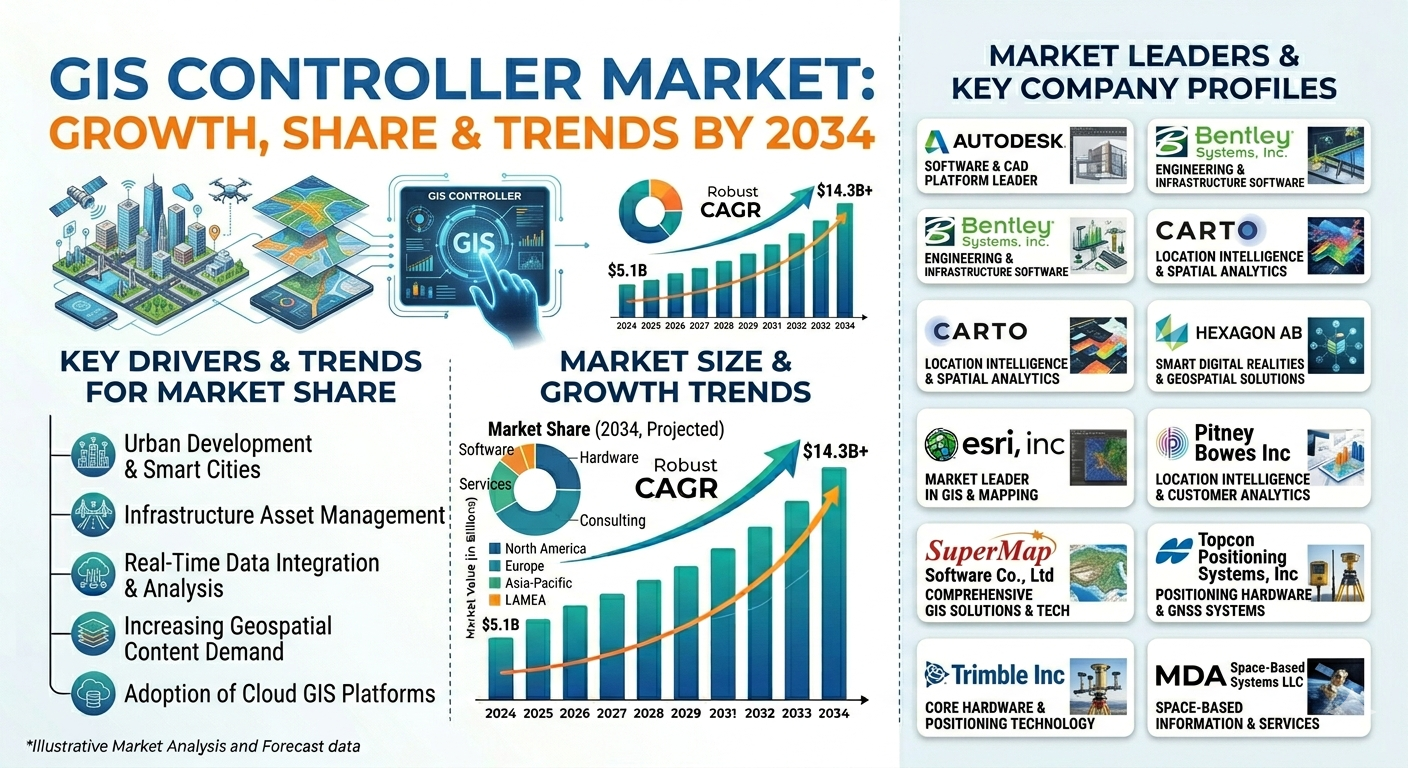
The increasing adoption of digital infrastructure, smart utilities, and advanced industrial automation is driving significant growth in the GIS controller industry worldwide. Governments and private organizations are investing heavily in intelligent power distribution systems, geographic information systems, and automation technologies to improve operational efficiency and real-time monitoring...