


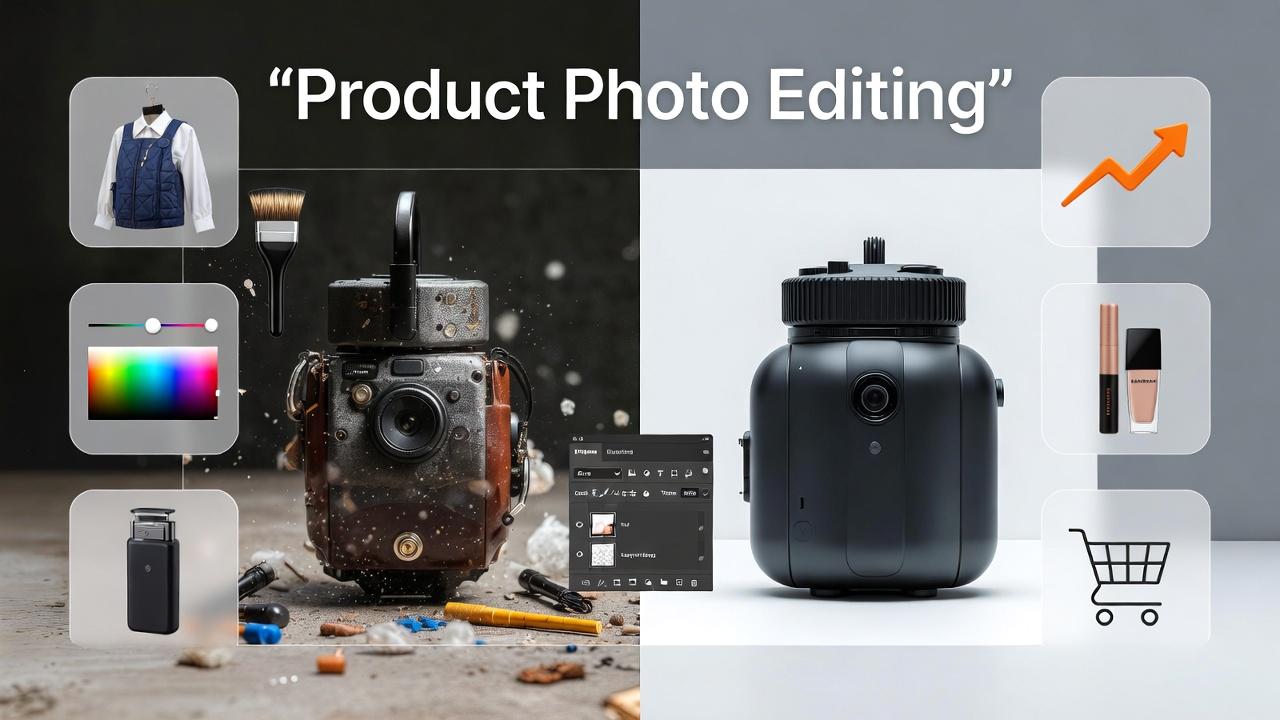
Premium Product Photo Editing: The Complete Guide to High-Converting Visuals
In today’s competitive digital marketplace, customers judge products within seconds and those judgments are almost entirely visual. That’s why Premium Product Photo Editing has become a critical part of ecommerce success. High-quality images don’t just showcase products; they communicate value, build trust, and influence buying decisions.
Even with professional photography, raw images often lack the polish needed for modern online stores. Lighting inconsistencies, dull colors, and minor imperfections can reduce a product’s appeal. Premium editing transforms these images into clean, vibrant, and visually consistent assets that align with brand standards.
According to ecommerce research from platforms like Shopify, product images are among the top factors affecting purchase decisions. Investing in high-end editing ensures your products stand out and convert better. In this guide, you’ll learn expert techniques, tools, and workflows used in Premium Product Photo Editing to create impactful visuals that drive engagement and sales.
What Is Premium Product Photo Editing?
Premium Product Photo Editing is an advanced image enhancement process focused on improving product visuals while maintaining accuracy, consistency, and brand identity.
Unlike basic editing, premium editing involves detailed retouching, precise color correction, and refined visual presentation tailored for high-end ecommerce and marketing.
Core Objectives:
- Enhance clarity and sharpness
- Ensure accurate color representation
- Remove imperfections and distractions
- Maintain consistent style across all images
Common Editing Tasks:
- Background removal or replacement
- Dust, scratch, and blemish cleanup
- Color grading and tone balancing
- Shadow creation and reflection enhancement
- Image resizing and optimization
Consistency across product catalogs is essential for building a strong and professional brand image.
Key Techniques in Premium Product Photo Editing
1. Background Removal and Refinement
A clean background ensures the product remains the focal point and looks professional.
Best Practices:
- Use pure white backgrounds for marketplaces
- Apply soft gradients for branded websites
- Ensure smooth and accurate edges
2. Advanced Color Correction
Color accuracy directly affects customer satisfaction and return rates.
| Adjustment Tool | Purpose |
|---|---|
| White Balance | Correct lighting tones |
| Curves & Levels | Adjust brightness and contrast |
| Hue/Saturation | Enhance color intensity |
| Selective Color | Fine-tune specific tones |
Accurate colors help customers trust what they see.
3. Retouching and Imperfection Removal
Small flaws can impact perceived product quality.
What to fix:
- Dust and scratches
- Wrinkles in fabric
- Smudges or reflections
- Minor defects
Careful retouching improves appearance without altering the product’s authenticity.
4. Shadow Creation and Depth
Shadows add realism and prevent images from looking flat.
Types of Shadows:
- Natural shadows for realism
- Drop shadows for ecommerce
- Reflection shadows for premium visuals
5. Image Alignment and Cropping
Consistent alignment ensures a clean and organized product catalog.
Key Tips:
- Center products uniformly
- Maintain consistent spacing
- Use identical aspect ratios
Tools Used for Premium Product Photo Editing
Professional Software:
- Adobe Photoshop – Advanced editing and retouching
- Adobe Lightroom – Batch editing and color correction
- Capture One – High-end RAW processing
Additional Tools:
- Remove.bg – Quick background removal
- Topaz AI – Sharpening and enhancement
- Canva – Basic design adjustments
Step-by-Step Premium Product Photo Editing Workflow
Step 1: Image Selection
Choose high-quality images with proper lighting and composition.
Step 2: Basic Adjustments
Correct exposure, white balance, and contrast.
Step 3: Background Editing
Remove or replace backgrounds for consistency.
Step 4: Retouching
Clean up imperfections and refine details.
Step 5: Color Enhancement
Ensure colors are accurate and visually appealing.
Step 6: Shadow and Depth Creation
Add realistic shadows for better presentation.
Step 7: Final Optimization
Resize, sharpen, and export images for web or print.
Common Mistakes to Avoid
- Over-editing that makes products look unrealistic
- Inconsistent color grading across images
- Poor edge selection during background removal
- Ignoring shadows and depth
- Using low-resolution exports
Avoiding these mistakes helps maintain a professional and trustworthy appearance.
Benefits of Premium Product Photo Editing
Why It Matters:
- Increases conversion rates
- Reduces return rates
- Builds customer trust
- Enhances brand identity
- Improves marketing performance
High-quality visuals allow customers to feel confident about their purchase decisions.
FAQs About Premium Product Photo Editing
What is premium product photo editing?
Premium product photo editing enhances product images using advanced techniques to improve quality, accuracy, and visual appeal.
How long does premium product photo editing take?
It typically takes 20 minutes to 1 hour per image, depending on complexity.
Which format is best for editing product photos?
RAW format is ideal for editing because it retains maximum detail.
Can beginners do premium product photo editing?
Beginners can start with basic tools, but professional results require experience and advanced techniques.
How much does premium product photo editing cost?
Prices usually range from $3 to $25 per image, depending on the level of detail.
Conclusion: Elevate Your Brand with Premium Product Photo Editing
Premium Product Photo Editing is essential for creating high-quality visuals that attract attention and drive sales. From precise color correction to detailed retouching and shadow enhancement, every step contributes to a polished and professional final image.
By investing in premium editing or refining your workflow, you can transform ordinary product photos into powerful marketing assets.
Категории
Больше
The global Peanut Oil Market is experiencing steady growth, supported by increasing consumer awareness of healthy dietary choices, rising demand for clean-label products, and expanding applications across food, personal care, and pharmaceutical industries. Peanut oil, known for its high smoke point and heart-healthy properties, is gaining popularity as a preferred cooking oil...

Let's be honest for a second. Most homeowners look at their yard and see potential. But they also see weeds, uneven patches, and a whole lot of uncertainty. You might love the idea of a beautiful outdoor space, but figuring out where to start? That feels overwhelming. This is exactly why professional landscape design services exist. Not to make things complicated. To make them simple, clear,...

A new growth forecast report titled Data Center Asset Management Market Size, Share, Trends, Industry Analysis Report: By Component (Software and Services), Deployment, Application, End Use, and Region (North America, Europe, Asia Pacific, Latin America, and Middle East & Africa) – Market Forecast, 2025–2034 introduced by Polaris Market Research represents conclusive...

The global Meat Substitutes Market is witnessing rapid expansion, fueled by growing consumer preference for plant-based diets, increasing health awareness, and rising concerns about environmental sustainability. Consumers are actively seeking alternatives that offer high protein, low cholesterol, and clean-label benefits, driving strong adoption across both retail and foodservice...

Coffee has become an essential part of daily life for millions of people around the world. As single-serve brewing systems continue to gain popularity, K Cups have emerged as one of the most convenient and widely used coffee formats. With countless coffee brands competing in the market, attractive and functional packaging has become a crucial factor in influencing customer purchasing decisions....