
Common MDF Painting Mistakes and How to Avoid Them
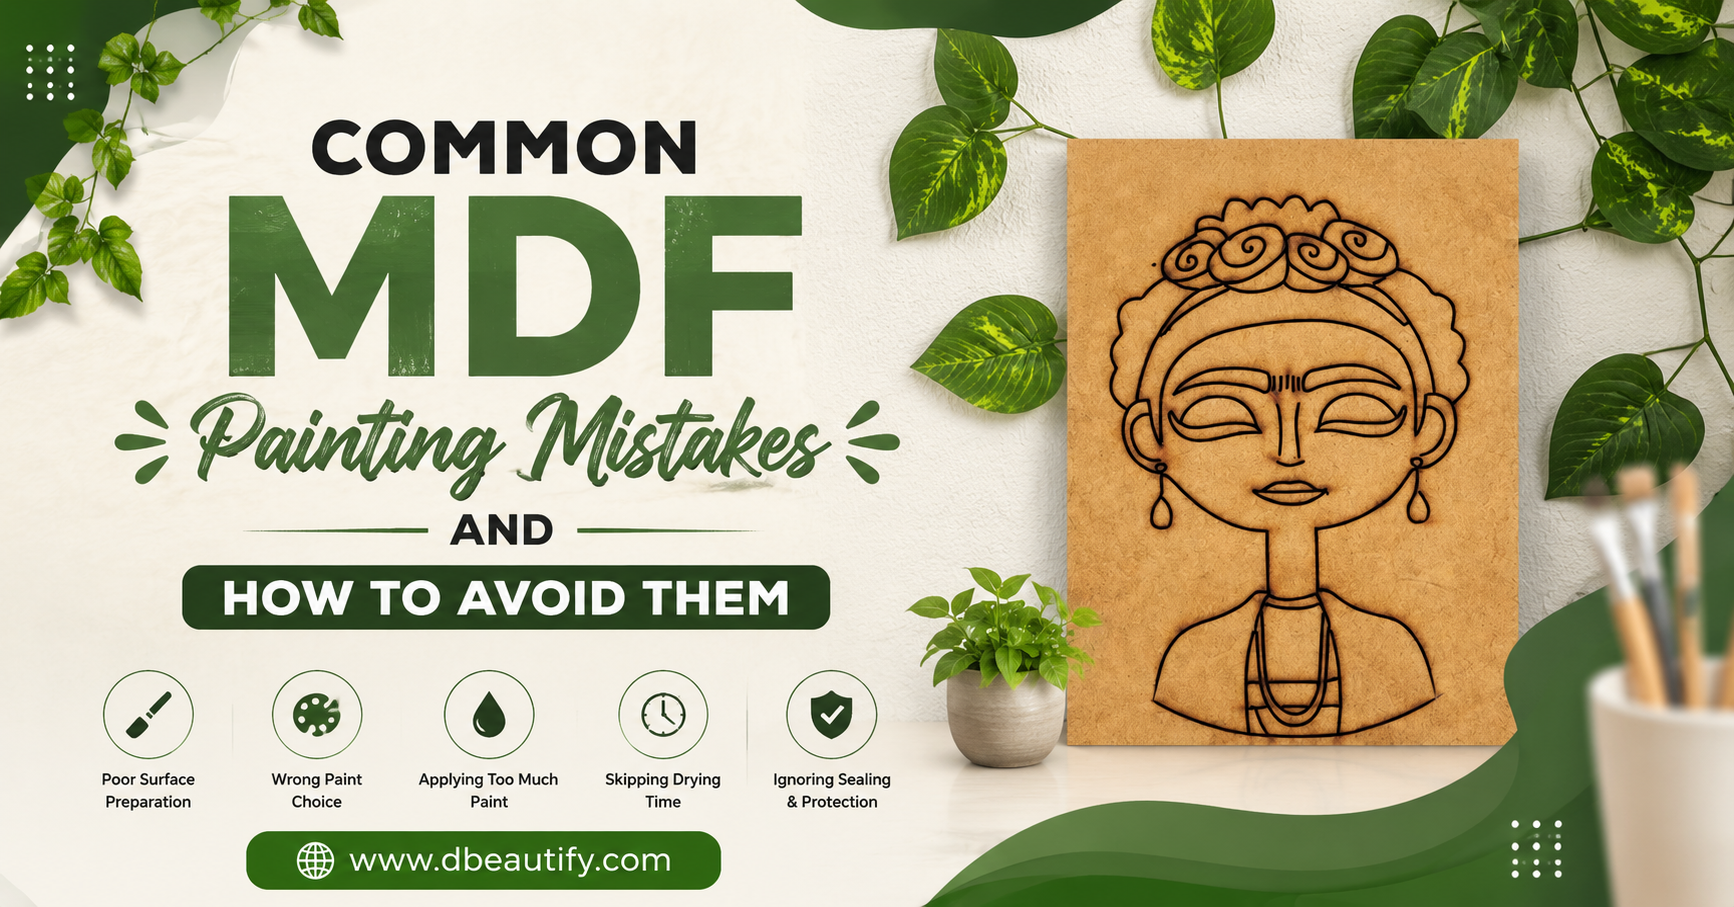
Creating beautiful home décor with MDF has become a favorite activity for artists, DIY lovers, and craft enthusiasts. From decorative wall hangings to personalized nameplates, MDF Cutouts offer endless possibilities for creativity. However, many people struggle to achieve a smooth and professional finish because they unknowingly make small mistakes during the painting process. Uneven paint, rough textures, peeling layers, and swollen edges are some of the most common problems beginners face while working on a DIY MDF Painting Board.
The good news is that most MDF Painting mistakes can be easily avoided with the right techniques and a little patience. Understanding how MDF behaves and learning the correct preparation methods can completely transform the quality of your work. Whether you are designing DIY MDF Wall Decor for your home or creating handmade gifts, knowing these practical tips will help you create cleaner, smoother, and longer-lasting results.
Skipping Surface Preparation Before Painting
One of the biggest mistakes people make is starting the painting process without preparing the MDF surface properly. Although MDF may appear smooth at first glance, it usually contains fine dust particles and rough edges that can affect the final finish. When paint is applied directly onto an unprepared surface, the result often looks patchy and uneven.
Because of this, surface preparation becomes the foundation of successful MDF Painting. Cleaning the board with a soft cloth and lightly sanding the surface with fine-grit sandpaper helps the paint stick more evenly. This step is especially important when working with detailed MDF Cutouts because rough edges can make intricate designs look untidy after painting.
Once the surface is prepared correctly, the next important step is protecting the board from excessive paint absorption.
Ignoring Primer on MDF Boards
Many beginners skip primer because they believe it is unnecessary, but this often leads to disappointing results. MDF is highly absorbent, especially around the edges, which means paint can soak into the surface unevenly. As a result, colors may appear dull, and the board can even swell due to moisture exposure.
To avoid this problem, applying a quality primer before painting is essential. Primer creates a smooth base layer and improves paint adhesion while reducing paint wastage. It also helps achieve brighter and more vibrant colors on your DIY MDF painting board.
After priming the surface properly, another mistake people often make is applying too much paint at once.
Applying Thick Layers of Paint
It is natural to want quick results, especially when working on exciting DIY MDF Wall Decor projects. However, applying thick coats of paint usually creates more problems than benefits. Heavy layers take longer to dry and can cause visible brush strokes, drips, cracking, or uneven textures.
Instead of rushing the process, applying multiple thin layers gives a smoother and more professional finish. Thin coats also help preserve the fine details of laser-cut MDF Cutouts that might otherwise get hidden under excess paint.
While paint application techniques matter greatly, choosing the right type of paint is equally important for achieving the desired look.
Choosing the Wrong Paint Type
Not every paint works well on MDF surfaces. Some paints dry too quickly, while others fail to bond properly with the board. This can affect both the appearance and durability of the final project.
For most MDF Painting projects, acrylic paints are considered one of the best options because they provide smooth coverage, vibrant colors, and quick drying time. Chalk paints are also popular for rustic or vintage décor styles, while enamel paints work well for glossy decorative finishes.
Choosing the right paint becomes even more important when creating home décor items that are meant to last for a long time. However, even the best paint job can lose its beauty if the artwork is not protected afterward.
Not Sealing the Finished Artwork
After completing a painting project, many people forget to seal the surface properly. Unfortunately, this small mistake can reduce the lifespan of the artwork. Without protection, painted MDF surfaces become more vulnerable to scratches, moisture, dust, and fading over time.
This is why applying a clear varnish or sealant is highly recommended after MDF Painting. A protective top coat helps preserve colors and gives the project a polished appearance. Matte finishes create a soft elegant look, while glossy sealants add shine and brightness.
Artists and craft creators who regularly work on decorative MDF Cutouts often use sealants to maintain the durability of their handmade products. Along with proper sealing, using the right painting tools also plays a major role in improving the final outcome.
Using Poor Quality Brushes and Tools
Even if you use high-quality paint and primer, poor-quality brushes can ruin the final finish. Cheap brushes often leave visible streaks, uneven textures, and loose bristles on the painted surface.
To achieve cleaner results, it is always better to invest in reliable painting tools. Foam rollers work well for smooth backgrounds, while fine-detail brushes are ideal for artistic patterns and intricate MDF Painting designs.
Many experienced DIY creators associated with Dbeautify believe that professional-looking craft projects depend more on proper techniques and tools than expensive materials. Once the right tools are selected, patience during the drying process becomes the next key factor.
Rushing the Drying Process
One of the most overlooked mistakes in MDF Painting is not allowing enough drying time between layers. Many people begin adding a second coat or decorative elements before the first layer has fully dried. This often leads to smudging, peeling, and uneven finishes.
Allowing proper drying time helps each layer settle evenly and improves the overall durability of the artwork. Depending on the paint type and weather conditions, drying times may vary, so patience is extremely important.
After learning the importance of drying techniques, there is one final step that can save beginners from major design mistakes.
Forgetting to Test Colors First
Paint colors often look different on MDF surfaces compared to paper or packaging labels. Many beginners directly start painting their final project without testing shades beforehand, only to realize later that the color combination does not match their expectations.
Testing colors on a small spare piece of MDF helps you understand how the paint will actually appear after drying. This simple habit can prevent color mismatches and improve the overall visual appeal of your DIY MDF Wall Decor projects.
By combining proper preparation, suitable paint selection, quality tools, and patience, anyone can improve their MDF Painting skills significantly.
Conclusion
MDF Painting is a creative and rewarding process, but achieving professional-looking results requires attention to detail at every stage. Small mistakes like skipping primer, applying thick paint coats, using poor-quality brushes, or rushing the drying process can affect the entire project. Fortunately, these problems are easy to avoid once you understand the correct techniques.
Whether you are creating decorative MDF Cutouts, experimenting with a DIY MDF painting board, or designing personalized DIY MDF Wall Decor, following these practical tips will help you create smoother, cleaner, and more durable artwork. As handmade home décor continues to grow in popularity, mastering these simple MDF Painting techniques can help both beginners and experienced crafters create projects that truly stand out.
Categories
Read More
According to the latest report published by Data Bridge Market Research, the Dental Sterilization Market Data Bridge Market Research analyses that the dental sterilization market which is USD 1.48 billion in 2022, is expected to reach USD 2.71 billion by 2030, at a CAGR of 7.8% during the forecast period 2023 to 2030. The wide ranging Dental Sterilization Market report...

Introduction Customers planning to rent a vehicle in Abu Dhabi should understand the documentation requirements before making a booking. Chevrolet Car Rental in Abu Dhabi can be a practical option for residents, business travellers, families, and visitors who need reliable transportation for daily commuting, airport transfers, sightseeing, business appointments, or longer journeys. Having the...

Making SANS SEC504 Exam Study Simple and Stress-Free Preparing for the SANS SEC504 exam does not have to feel stressful or confusing. Many students struggle because they study too much without a clear plan. They read many resources but still feel unsure about what really matters for the exam. Choosing clear and trusted SANS SEC504 study material makes preparation simple, focused, and more...

The increasing demand for high-speed optical communication systems, advanced sensing technologies, and precision imaging solutions is driving strong growth across the semiconductor and photonics industry. InGaAs photodiodes and arrays have become critical components in applications such as telecommunications, spectroscopy, defense systems, industrial automation, and scientific research. Their...

An Outdoor Kitchen has become one of the most interesting and practical home design trends in Chandler AZ, where warm weather and sunny days encourage people to spend more time outside. Instead of limiting cooking and dining to indoor spaces, homeowners are now exploring how outdoor areas can be transformed into functional cooking environments. An Outdoor Kitchen is not just about grilling...