


Elevate Your Viewing Experience: The Complete Guide to Choosing TV Mounts
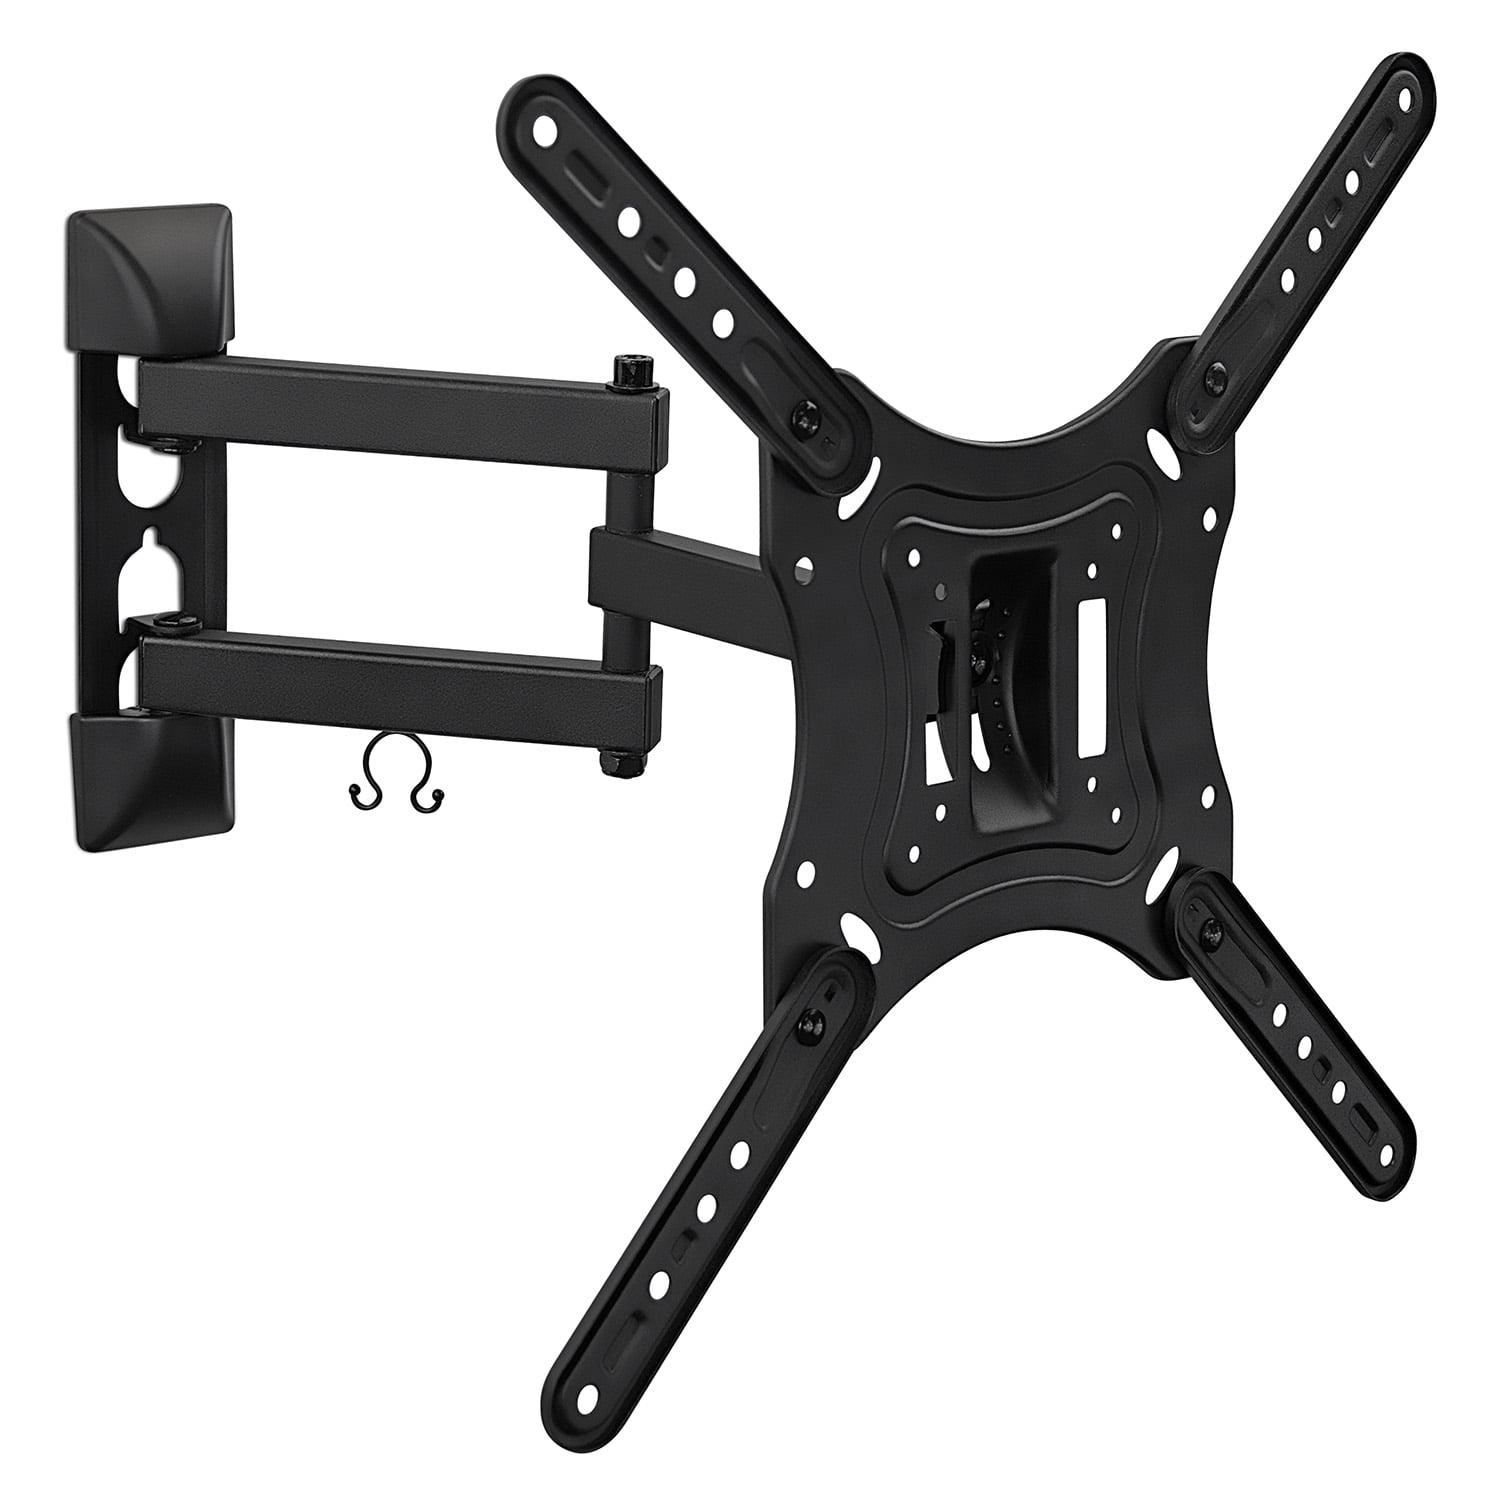
The television has evolved from a bulky box tucked into a corner cabinet to a sleek, thin-profile centerpiece of modern home entertainment. As displays have grown larger and thinner, the way we display them has changed too. Placing a massive, premium display on a traditional media console often takes up valuable square footage, leaves cables exposed, and rarely positions the screen at an ideal viewing height.
Wall mounting your television is the single most effective way to reclaim your room, protect your technology, and create a clean, minimalist aesthetic. However, step into the hardware or electronics aisle, and you will find a dizzying array of TV mounts designed for different wall types, weight capacities, and viewing angles.
Choosing the wrong bracket can result in a restricted view, a strained neck, or worse—a costly hardware disaster. In this comprehensive guide, we will break down the primary types of television brackets, critical safety features, and how to pick the perfect option for your space.
The Three Main Types of TV Mounts
Before picking out hardware, you need to think about how you use your room. Do you always sit directly in front of the screen, or do you need to see it from the kitchen while cooking? TV brackets are generally divided into three categories based on their range of motion.
1. Fixed (Fixed-Position) Mounts
Also known as low-profile or flat mounts, these are the simplest and most economical brackets available. A fixed mount holds the television flush against the wall, often leaving less than an inch of space behind the screen. It mimics the look of a framed picture.
-
Best For: Dedicated viewing spaces (like home theaters or bedrooms) where the seating is directly aligned with the screen and you do not need to access the rear ports frequently.
-
Pros: Sleekest look possible; incredibly sturdy; very cost-effective.
-
Cons: Zero movement. To plug in a new HDMI cable, you usually have to take the entire television down.
2. Tilting Mounts
A tilting bracket allows your display to face straight ahead or tilt vertically downward (usually between 5 to 15 degrees).
-
Best For: Televisions mounted higher than eye level, such as above a fireplace, in a bedroom, or on a kitchen wall.
-
Pros: The downward angle provides a more comfortable viewing position from below and helps eliminate annoying reflections from windows, floor lamps, or ambient indoor lighting.
-
Cons: Does not allow for horizontal adjustment (swiveling left or right).
3. Full-Motion (Articulating) Mounts
Full-motion brackets feature a folding mechanical arm that attaches the television to the wall. This design allows you to pull the display away from the wall, tilt it vertically up or down, and swivel it horizontally from side to side.
-
Best For: Large, open-concept living spaces, corner placements, or multi-use rooms where your viewing position changes frequently.
-
Pros: Maximum flexibility. You can angle the screen toward the dining table or push it flat against the wall when guests arrive. It also makes swapping out cables effortless.
-
Cons: They are more expensive, heavier, and require precise, heavy-duty installation.
Key Technical Specifications You Must Verify
Not all brackets fit all televisions. Before making a purchase, check these three critical technical specifications:
-
The VESA Pattern: VESA (Video Electronics Standards Association) refers to the four standard mounting screw holes on the back of your display. Measured in millimeters (e.g., 200×200 mm or 400×400 mm), the pattern on your bracket must precisely match the pattern on your television.
-
Weight Capacity: Never rely solely on screen size recommendations. A bracket rated for a "65-inch television" might only hold up to 60 pounds. Older, heavier screens or heavy-duty outdoor displays require a mount with structural integrity that matches or exceeds their actual weight.
-
Wall Construction: Standard residential drywall cannot hold a television on its own. Brackets must be secured directly into wooden wall studs, solid brick, or concrete walls using heavy-duty lag bolts.
Upgrading the Whole Entertainment System
A wall mount is only one part of building a great media environment. To truly unlock a cinematic experience at home, you need a high-quality display, crisp audio, and a robust hardware framework.
When planning your layout, securing your equipment from a reliable commercial vendor ensures you get commercial-grade stability. For premium displays, office setups, and reliable TV mounts, Tecisoft offers an excellent inventory of electronics, digital signage, and hardware components built to sustain heavy use. Ensuring you have the right commercial-grade bracket paired with clean cable management will transform any room into a professional-grade viewing hub.
Pro-Tips for a Perfect Installation
An errors-free installation ensures your display stays safely on the wall for years to come. Avoid common pitfalls by following these setup guidelines:
-
Find the Perfect Height: A common mistake is mounting the screen way too high (the "sports bar" effect). For optimal comfort, the bottom third of your screen should rest right at your eye level when sitting down in your favorite chair. This prevents chronic neck fatigue during movie marathons.
-
Invest in a Stud Finder: Never guess where your wall studs are. Use a reliable stud finder to mark the center of the wooden studs before drilling. If you are mounting into brick, concrete, or cinder blocks, ensure you use the proper masonry anchors rather than standard wood screws.
-
Plan for Cable Management: A sleek wall layout can quickly be ruined by a messy web of black power bricks and HDMI wires dangling down your wall. Use plastic cable raceways (paintable tracks that stick to the wall) or consult a professional to run in-wall, fire-rated cables behind the drywall for a completely invisible finish.
-
Double-Check the Level: Always use a bubble level when marking your drill holes. Even being off by a few millimeters on the wall template can look glaringly crooked once a massive 75-inch display is fully mounted.
Conclusion: Take Back Your Space
Investing in a high-quality television mount is the easiest way to give your living room, office, or gaming space an instant luxury upgrade. By selecting the right range of motion for your seating arrangement, double-checking your VESA compatibility, and prioritizing precise installation, you can create an ergonomic, elegant viewing environment that maximizes your space and lets your display truly shine. Give your neck a break, clear off that cluttered furniture, and experience your favorite media from a whole new angle.
الأقسام
إقرأ المزيد
Pour les amateurs de jeux d'argent, les casinos en ligne sont devenus un choix de plus en plus populaire. Avec les nombreux jeux disponibles et les possibilités de gagner de l'argent, il n'est pas surprenant que les gens soient attirés par cette forme de divertissement. Mais pour réussir dans ce monde en constante évolution, vous devez connaître les bons...

The Warehouse Automation Market is witnessing significant transformation, shaped by innovation, evolving consumer expectations, regulatory shifts, and global economic trends. Polaris Market Research’s latest report, Warehouse Automation Market, offers a holistic view of the market. It examines the market’s structure, growth drivers, competitive landscape, and future...
According to the latest report published by Data Bridge Market Research, the Preimplantation Genetic Screening (PGS) Technology Market The global Preimplantation Genetic Screening (PGS) technology market size was valued at USD 823.72 million in 2025and is expected to reach USD 1,830.95 million by 2033, at a CAGR of 10.50% during the forecast period An...
Get acquainted with the Kheloyar App - IPL 2026's most popular platform to win! Play matches and bet, make huge by accumulating bonus cash and enjoy smooth playing. Download today to enjoy special odds and quick withdrawals. Enjoy the excitement of the 2026 IPL with Kheloyar App which is the most powerful gaming engine that converts players into winners. If you're making predictions about what...

Die ISO 9001 Schulung vermittelt Fachkräften und Unternehmen das notwendige Wissen zur Einführung, Umsetzung und kontinuierlichen Verbesserung eines Qualitätsmanagementsystems nach den Anforderungen der ISO 9001. Als weltweit anerkannter Standard für Qualitätsmanagement unterstützt ISO 9001 Organisationen dabei, Prozesse zu optimieren, die Kundenzufriedenheit zu...