

Mirror Nail Polish at Home: Step-by-Step
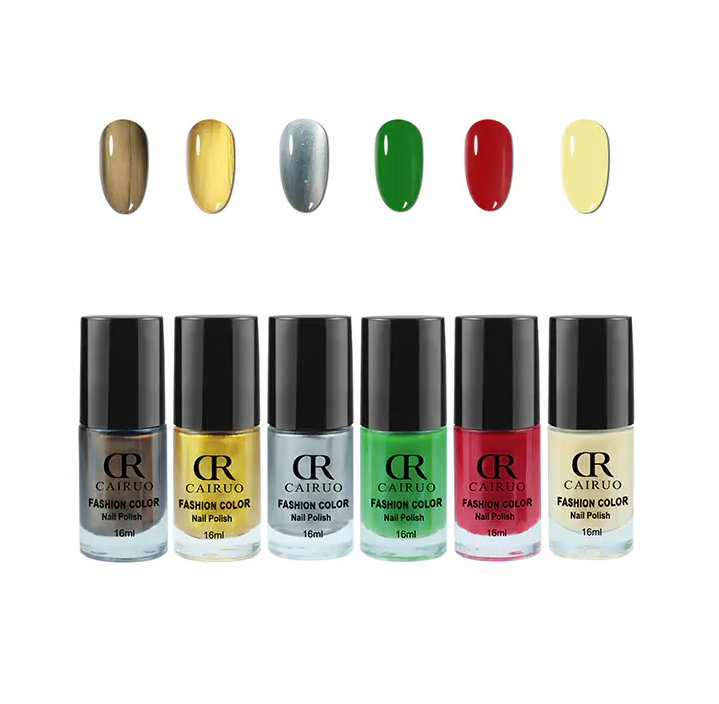
Trying mirror nail polish for the first time often ends in frustration rather than the sleek metallic look pictured online. Getting that reflective finish right depends less on luck and more on preparation, technique, and patience during a few key steps most tutorials skip over.
Start with the nail surface itself. Mirror nail polish shows every imperfection underneath, so buffing nails smooth beforehand matters more than it does with regular polish. Ridges, bumps, or leftover cuticle skin all show through the reflective layer, creating distortion in what should look like a flawless mirrored surface. A gentle buffer works better than aggressive filing, which can thin nails and cause peeling later.
Base color choice comes next. Mirror nail polish pigment reflects whatever sits beneath it, meaning black or dark navy bases produce deep, dramatic mirror effects, while lighter bases create softer, almost pearlescent results. Applying two thin coats of base polish, letting each dry fully, prevents the streaking that happens when chrome pigment gets rubbed over tacky or half-dried polish underneath.
Pigment application separates smooth results from patchy ones. Some mirror nail polish kits include a sponge-tip applicator designed specifically for pressing chrome powder onto the nail using small circular motions rather than swiping like regular polish. Pressing too hard smears the pigment unevenly, while pressing too lightly leaves faint patches that never build into a solid reflective coat. Working under bright lighting helps catch these gaps before they set permanently.
Sealing the finish matters just as much as applying it. A clear top coat locks pigment particles in place, though certain formulas dull the mirror effect slightly during this step. Choosing a top coat specifically labeled compatible alongside chrome or mirror finishes avoids that dulling problem, preserving the reflective quality customers expect from a proper mirror manicure.
Timing plays a bigger role than beginners expect. Rushing between coats, whether during base application or pigment rubbing, produces smudged results that require starting over entirely. Waiting the recommended drying window between each layer feels tedious in the moment but saves considerably more time compared alongside redoing a botched mirror nail polish attempt from scratch.
Practice remains the real variable separating clean results from messy ones. First attempts rarely turn out gallery-ready, and that's fine, since even experienced nail artists mention needing several tries before consistently nailing the reflective, streak-free finish mirror nail polish promises on packaging and social media alike.
Categories
Read More
Ever felt the pull of ancient wonders calling you from the chaos of city life? The Taj Mahal isn't just a monument—it's a love story etched in marble that demands your presence. In this guide, we'll dive into fun ways to see it, mixing easy trips with secret spots that make your visit special. Delhi's busy vibe sets up great getaways. Unlock the magic of Taj Mahal...

Stylish Kaftan Sets for Women Every Fashion Lover Should Own Fashion trends come and go, but some outfits remain timeless because they perfectly combine comfort, elegance, and versatility. One such trend dominating modern ethnic fashion is kaftan sets for women. These flowy and stylish outfits have become wardrobe essentials for women who want effortless fashion that feels as comfortable as it...

Learn how to use a feeler gauge correctly to measure gaps accurately. Step-by-step guide covering feeler gauge range, least count, and usage tips. Correct Way to Use a Feeler Gauge for Precise Gap Checking Precision gap measurement is a critical task in automotive servicing, mechanical maintenance, and industrial assembly. Small variations...
Selecting a PhD research topic is one of the most important decisions in a doctoral journey. Students at leading institutions such as the Indian Institutes of Technology (IITs), Indian Institutes of Management (IIMs), and central universities often spend months identifying a research area that is both original and feasible. A poorly chosen topic can create difficulties throughout the research...

The electric vehicle industry is growing at a fast pace, and safety components have become more important than ever before. Among these components, braking systems play a vital role in ensuring smooth and reliable vehicle performance. Choosing the right CBS Drum Brake for Electric Vehicles Manufacturers is essential for maintaining safety, stability, and long-term durability in electric...