Категории
Больше
Roma77 login alternatif adalah solusi yang disediakan oleh platform Roma77 bagi pemain yang mengalami kesulitan mengakses situs utama karena berbagai alasan, seperti pemblokiran oleh provider internet atau gangguan teknis sementara. Login alternatif memungkinkan pengguna tetap dapat masuk ke akun mereka dengan aman dan melanjutkan permainan tanpa kehilangan akses ke saldo, bonus, atau...

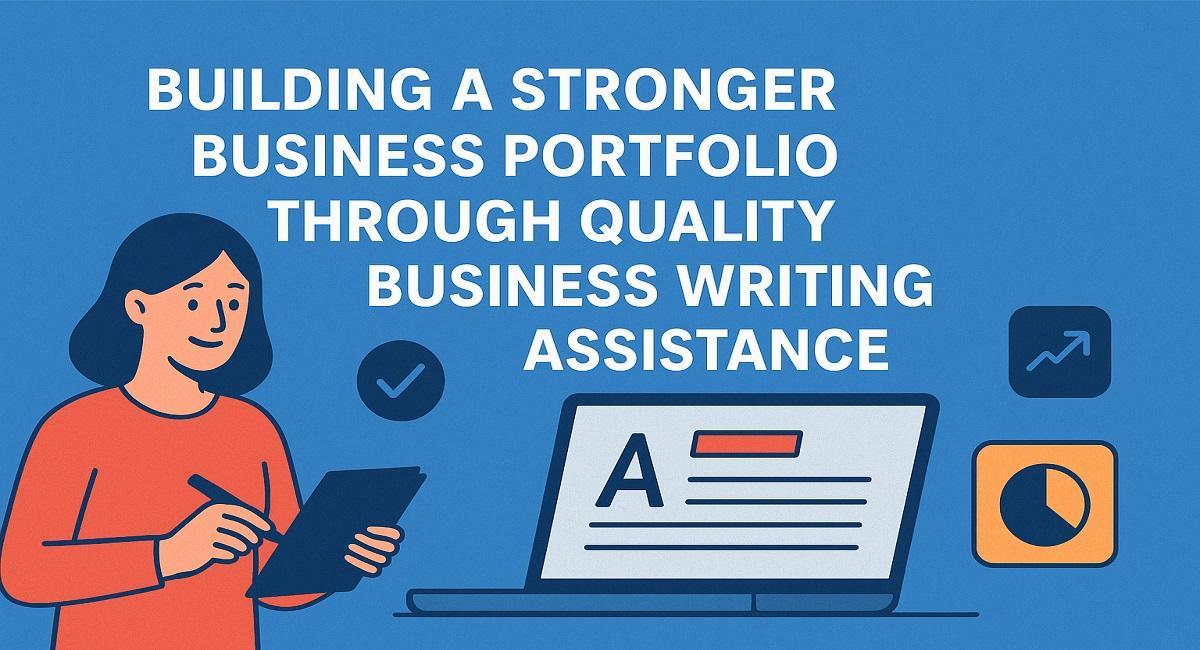
A business portfolio reflects your brand's credibility, consistency, and clarity. Whether you are pitching to investors, attracting clients, or showcasing your services, the way you communicate your ideas can make all the difference. And that is where the power of quality business writing comes in. A well-crafted proposal, presentation, or profile is a strategy, tone, and impact. It is how you...
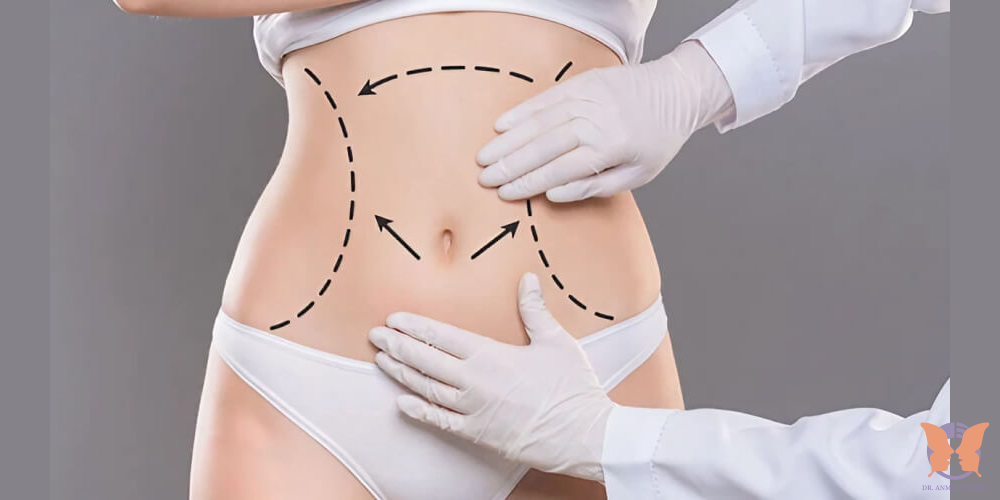
Liposuction is one of the most sought-after cosmetic procedures for individuals looking to sculpt their bodies and eliminate stubborn fat. If you are considering liposuction in Riyadh(عملية شفط الدهون في الرياض), understanding its benefits can help you make an informed decision. This procedure not only reshapes and contours the body but also provides long-lasting results when combined with a...
Kinective PayNearMe partnership marks a significant step forward in modernizing payment experiences, as Kinective announced a strategic collaboration with PayNearMe to expand payment experience management capabilities across thousands of financial institutions. Through this partnership, PayNearMe has licensed Kinective’s Gateway platform, an advanced API connectivity solution that...

The Nurse Call System Market Size is witnessing steady growth as healthcare facilities increasingly adopt advanced communication systems to improve patient care, safety, and operational efficiency. The market is valued at USD 2.24 billion in 2025 and is projected to reach USD 4.87 billion by 2033, growing at a CAGR of 10.26% during the forecast period 2026–2033. Nurse call systems are...