


How to Edit a Paid Bill in QuickBooks Without Affecting Financial Reports
Accurate financial records are the backbone of any successful business. However, mistakes happen—a bill gets paid, but later you realize the amount was wrong, the expense account was miscategorized, or the date was off. The natural instinct might be to click "Edit," but when it comes to paid bills in QuickBooks, this simple action can have unintended consequences, throwing off your reconciliations and financial reports .
So, how do you edit a paid bill in QuickBooks without affecting financial reports? The short answer is: you usually don't edit the bill directly. Instead, you use a specific workflow to correct the error while preserving the integrity of your past financial data. This guide will walk you through the safe and proper methods to handle these corrections.
Understanding the Risk: Why You Can't Just Hit "Edit"
When a bill is marked as "Paid" in QuickBooks, it's linked to a payment transaction (like a check or a credit card charge) and is locked into a specific accounting period. Directly editing a paid bill can break that link. For example, if you change the amount of a paid bill, the payment transaction it's linked to will no longer match, creating a discrepancy that makes bank reconciliation nearly impossible and skews your Profit & Loss statements .
Before making any changes, you must first determine what needs to be corrected. Is the amount wrong? The vendor? The expense account? The answer dictates the correct procedure.
Scenario A: Editing a Paid Bill (When the Change Doesn't Affect the Total Amount)
If the bill amount is correct, but the details on the bill itself need updating (like the memo field, due date, or even the vendor name, as long as it's the same entity), you can often make this change safely. This is the one instance where directly editing the transaction post-payment is generally acceptable.
Here’s how to edit a paid bill in QuickBooks when the total amount remains unchanged :
-
Navigate to the Expenses tab in the left menu.
-
In the sub-menu, choose Bills.
-
Locate the paid bill you want to edit and click on it to open it.
-
Make the necessary changes to non-monetary fields, such as the memo, the bill's due date, or the vendor details (if correcting a minor error).
-
Once you've made your edits, click Save and Close.
Because the total amount of the bill hasn't changed, the link to the payment remains intact, and your financial reports stay accurate.
Scenario B: The Amount is Wrong (The "Unlink and Edit" Method)
This is the most common and trickiest scenario. If the bill amount is incorrect, you must follow a careful process. The goal is to edit a paid bill in QuickBooks by first severing its link to the payment, correcting it, and then re-linking it.
Follow these steps carefully:
-
Locate the Payment: Go to the Expenses tab and find the payment transaction (e.g., "Check" or "Bill Payment") that was used to pay the incorrect bill. Open it.
-
Unlink the Payment: In the payment transaction, you will see the bill it's applied to. Deselect or remove the bill from this payment. Do not delete the payment. Simply unlink it. Save the payment. The bill will now revert to an "Unpaid" or "Open" status.
-
Edit the Bill: Now that the bill is no longer linked to a payment, you can safely edit it. Navigate back to the Bills list and open the original bill.
-
Make Your Corrections: Adjust the amount, expense accounts, or any other necessary fields.
-
Save and Close the Bill.
-
Re-link the Payment: Go back to the Expenses tab and re-open the payment transaction you unlinked in step 2. Select the corrected bill to apply the payment to it again. Ensure the payment amount matches the new bill total. If the payment amount was based on the old total, you may need to edit the payment amount as well. Save the payment.
This process ensures that all transactions are correctly linked, and your financial reports accurately reflect the correct expense and payment.
Scenario C: When You Should Void and Re-enter
There are times when unlinking and editing is more trouble than it's worth. If the error is significant—for instance, the bill was paid to the completely wrong vendor—the safest route is to void the transactions and start over.
-
Voiding vs. Deleting: You should almost always void a transaction rather than delete it. Voiding sets the amount to zero but keeps a record of the transaction in your audit trail. Deleting removes it entirely, which can raise red flags during an audit.
To correct a major error:
-
Void the Payment: Find the payment (check, etc.) and select Void.
-
Void the Bill: Find the original bill and select Void.
-
Create a New Bill: Enter a brand-new, correct bill from the vendor.
-
Pay the New Bill: Pay the new bill using the correct method and amount.
This method is clean, transparent, and ensures your financial reports are accurate without any confusing, backdated links .
Best Practices to Protect Your Financial Reports
Regardless of which method you use, follow these best practices to ensure you edit a paid bill in QuickBooks without affecting financial reports :
-
Don't Edit in a Closed Period: If the bill was paid in an accounting period that has already been closed (e.g., last month or last year), do not use the "unlink and edit" method. Making changes in a closed period will alter historical reports. Instead, record the correction in the current period. You can do this by entering a "Bill Credit" for an overpayment or a new "Bill" for an underpayment, netting out the difference in the current month.
-
Always Check the Audit Log: QuickBooks keeps a detailed audit trail of every change. If you're unsure of QuickBooks payroll support impact, check the audit log to see what was changed and when. This is your safety net.
-
When in Doubt, Consult Your Accountant: If the correction is complex or involves a large sum of money, it's always best to consult with your bookkeeper or CPA. They can guide you on the most GAAP-compliant way to handle the situation.
-
Keep Vendor Profiles Clean: After making corrections, double-check your vendor profiles to ensure all transactions are associated with the correct vendor to prevent future discrepancies
Catégories
Lire la suite
Micro, Small, and Medium Enterprises (MSMEs) are essential to India’s economy. They play a key role in providing jobs, driving innovation, boosting exports, and aiding regional development. Despite their significance, MSMEs often struggle with financial issues, limited resources, and operational hurdles. To help overcome these challenges, the Government of India provides various subsidies...

Streaming Access Guide Irreverent Season 1, a Peacock exclusive comedy-drama, arrives on November 30th. This series follows a criminal seeking refuge in Australia after a failed heist. International viewers face delays, as the show premieres first in the USA. Accessing Peacock abroad requires navigating regional restrictions. Virtual Private Networks (VPNs) offer a solution for global...

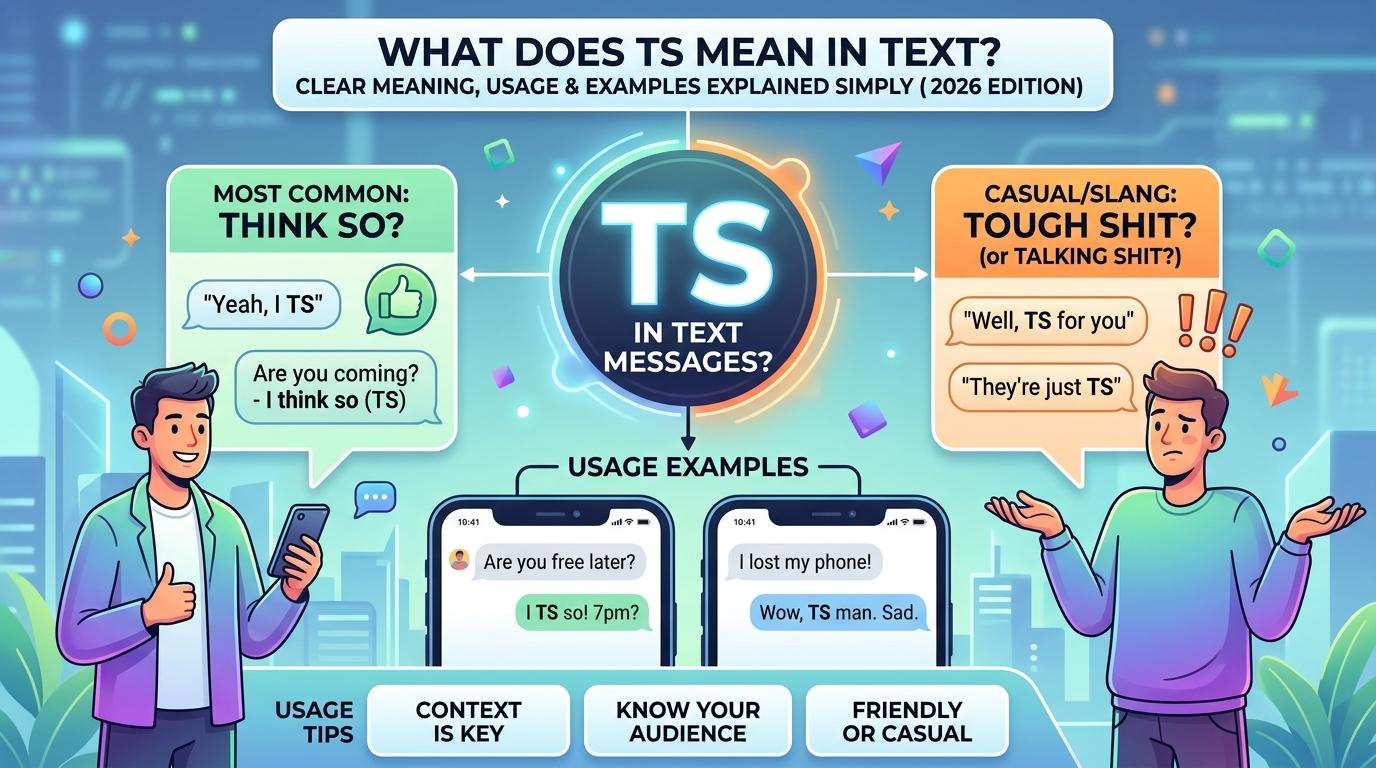
In the world of texting, social media, and online conversations, abbreviations and slang terms appear almost every day. One abbreviation that often confuses people is TS. If you've seen someone write "TS" in a text message, TikTok comment, Snapchat chat, or social media post, you may have wondered what it actually means. The truth is that TS can have several meanings depending on the...
Turmeric oil, derived from the turmeric plant, offers a range of health benefits due to its potent properties. Turmeric is a finely ground powder that is the main ingredient in curry recipes; however, the plant has an important history of various uses. Turmeric essential oil is extracted from the roots of turmeric through steam distillation. It is a yellow-orange liquid with a faint blue...

"Regional Overview of Executive Summary Brake Pad Market Market by Size and Share The global brake pad market size was valued at USD 3.33 billion in 2024 and is expected to reach USD 6.45 billion by 2032, at a CAGR of 8.60% during the forecast period Brake Pad Market Market analysis gives a clear idea on various segments that are relied upon to observe...