


Why Does PST to Office 365 Migration Get Stuck?
It's normal to move emails from PST files to a Microsoft Office 365 account. A lot of individuals put their old Outlook data on the cloud so they can get to it more easily and keep it safer. The procedure appears to be simple. But a lot of folks have a problem. The PST to Office 365 Migration pauses halfway through. The process stops. Progress stays the same for a long time.
This circumstance is causing stress. The PST file still has important emails trapped inside. Things get done more slowly. The process takes too long, and time is wasted.
This blog talks about the primary reasons why this is a problem. It also shows a simple way to do it by hand and a tool that works well to get the job done.
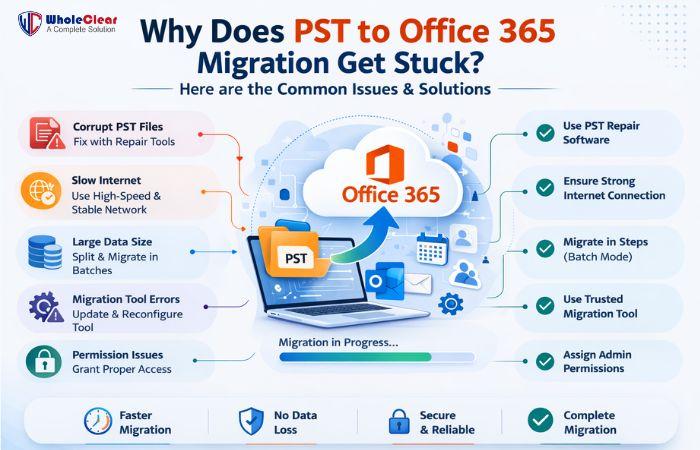
Common Reasons Why PST to Office 365 Migration Gets Stuck
Knowing what caused the problem helps you fix it faster. Here are some common reasons why the migration process stops.
Big PST File Size
A PST file that is very big can make the migration procedure take longer. Files that have been around for a long time and have a lot of email data have thousands of messages and attachments. It takes a long time to upload a file like this to the cloud. Sometimes the process stops in the middle.
Slow Internet Speed
You need a stable internet connection to move to the cloud. The migration stops if the internet connection breaks or the speed drops. The upload doesn't work, and the procedure terminates.
Damaged PST File
Sometimes PST files get broken. This happens when the machine shuts down suddenly or there are software bugs. The migration procedure stops because the system can't read the data correctly due of a corrupted file.
Server Timeout
The system talks to the Office 365 server while it is migrating. The connection breaks if the server response slows down. The process stops when this happens.
Big Attachments
It takes longer to upload emails with big attachments. The migration procedure has trouble moving forward if a lot of emails have big attachments.
How to Import PST Files Manually into Office 365
There is a manual process in Microsoft Outlook. This method helps in PST to Office 365 Migration. Just do these easy things.
Step 1: Set up Outlook
Set up Outlook on the computer and open it. Put your Office 365 account into Outlook.
Step 2: Start the Import Tool
Go to the File tab. Select Export and Open. Choose "Import" and "Export."
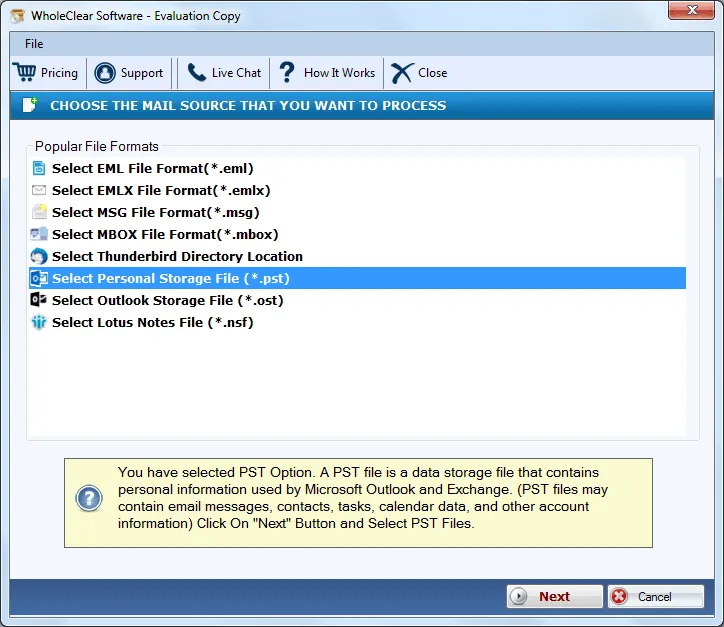
Step 3: Choose the Import Option
Select Import from another file or application. Click Next.
Step 4: Pick a PST File
Choose the PST file for Outlook. Click Next.
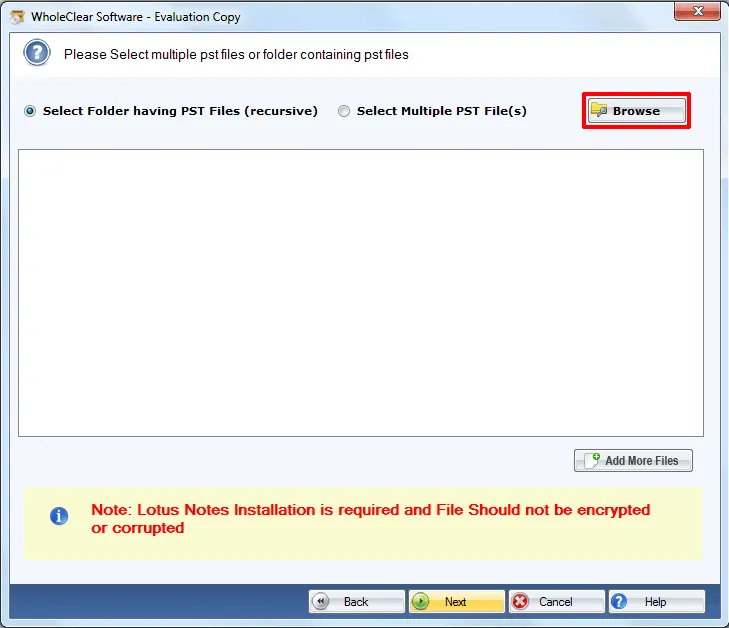
Step 5: Open the PST file
Find the PST file that is saved on the computer. Put it in the import wizard.
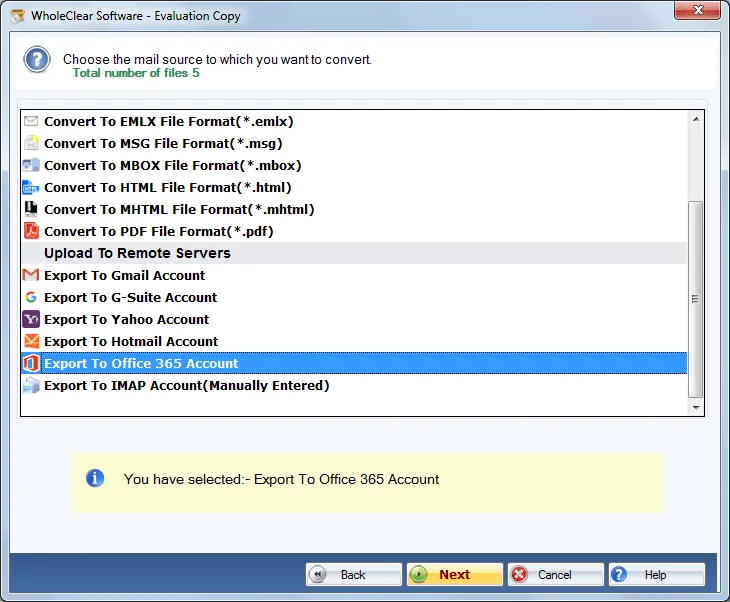
Step 6 Choose a Destination
Pick the Office 365 mailbox folder where the emails should go.
Step 7: Begin the Import
Finish by clicking. The import procedure starts, and Outlook sends the information to the Office 365 account.
Problems with the Manual Method
The manual method is good for little jobs. But it often presents problems during big moves.
First, the process takes a long time. Outlook runs more slowly when PST files are big.
Second, the migration stops if the internet connection goes down.
Third, you can't import PST files that are damaged.
Fourth, you need to install Outlook and set up your account for the process to work.
These problems cause delays and make it more likely that the migration won't be finished.
Simple Method to Fix PST to Office 365 Migration Issues
The WholeClear PST to Office 365 Converter is an easy and safe solution to migrate PST to Office 365 account. The application sends emails, folders, contacts, and attachments from PST files straight to the cloud mailbox. The operation goes smoothly and protects the original folder structure. The system can handle large PST files without slowing down. The interface is straightforward to comprehend, which makes it easy to finish the PST to Office 365 Migration process. The software also keeps email data safe while it is being sent and makes sure that every message gets to the right mailbox without being lost. This application helps you move PST to Office 365 in a stable and structured fashion.
Key Features
Direct PST Transfer
The utility moves PST emails straight to Office 365 mailboxes. The technique doesn't seem to have any complicated setup.
Works with big files
Big PST files don't cause problems. The software can handle large email datasets without crashing.
Keeps the structure of the data
After migrating, all folders stay the same. Your inbox, sent drafts, and other folders stay neat.
Easy-to-use interface
It's easy to understand how the software is laid out. Even people who are new to it can do migration without getting confused.
Safe Migration
The method keeps email data safe. The tool protects the contents of messages, attachments, and folder structure.
Quick Processing
The speed of the conversion stays the same. Compared to doing it by hand, the application uploads emails quickly.
Basic Steps to Use
- Step 2: Install and open the tool on the computer.
- Step 2: Add the PST file that has to be moved.
- Step 3: Type in your Office 365 account login information.
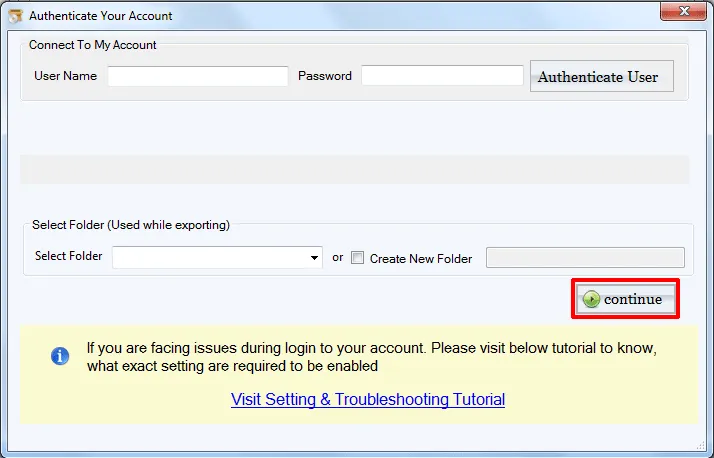
- Step 4: Pick the mailbox folder where you want to move the data.
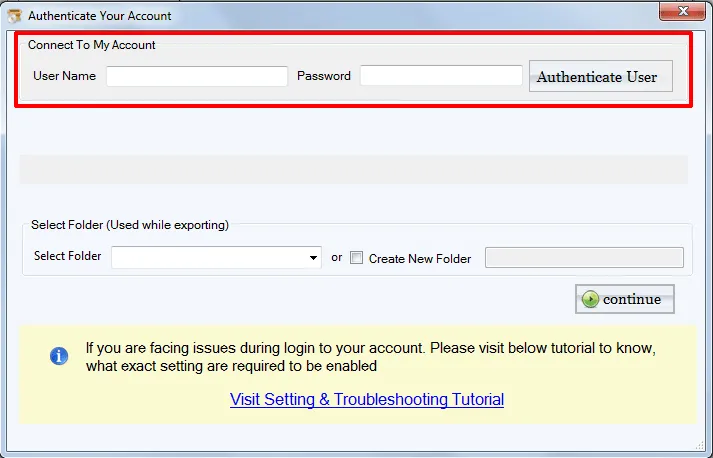
- Step 5: Begin the process of moving.
Final Thoughts
Sometimes, the PST to Office 365 Migration pauses because of big files, slow internet, broken PST files, or server delays. These problems make things take longer and waste time.
The manual Outlook method only works in certain scenarios. A lot of the time, big migrations fail or freeze in the midst.
A good solution can help you avoid these issues. The Software makes the move easy and safe. The application sends PST data straight to Microsoft Office 365 while keeping emails safe and structured.
The appropriate strategy makes the transfer process go smoothly and lets you quickly get to your email data in the cloud.
Categories
Read More
Benefits of Using Certification Exam Preparation Material Certification exams help people grow in their careers. They help you get better jobs. They also help you earn more money. Many students want to pass the CLT exam on the first attempt. This exam is offered by MSSC. However, exam preparation can feel difficult. There are many books to read and many topics to cover. This is why using...

Finding a reliable cat sitter Creve Coeur residents trust can make all the difference when you’re away from home. Cats thrive in familiar environments, and leaving them with a professional sitter ensures they stay comfortable, stress-free, and well cared for while you’re gone. Whether you’re traveling for work, planning a vacation, or handling an emergency, a dedicated cat...

Indoor air quality has become a major concern for homeowners and business owners across Seattle. With the region’s high humidity, wildfire smoke events, and aging buildings, Air quality testing Seattle is one of the most effective steps you can take to ensure cleaner, safer indoor air. Whether you live near the waterfront zones around Fremont Cut or in older residential neighborhoods...

Fairplaypro continues to grow as one of India’s most trusted betting and gaming platforms, offering access to cricket betting, football odds, tennis markets, live casino games, and crash-style gaming. Before new users can enjoy the platform, they must complete the signup process and meet certain eligibility requirements. If you’re planning to join Fairplay pro in...

How to Stop Jealousy in Relationship: A Complete Guide for Real People | Happy Lab Have you ever felt that tight knot in your stomach when your partner talks to someone attractive? Or that sudden wave of insecurity when they don’t reply to your message right away? If yes, you’re not alone. Jealousy in relationship is common. Almost everyone experiences it at some point. The...
