


How File Preparation Impacts DTF Printing Quality
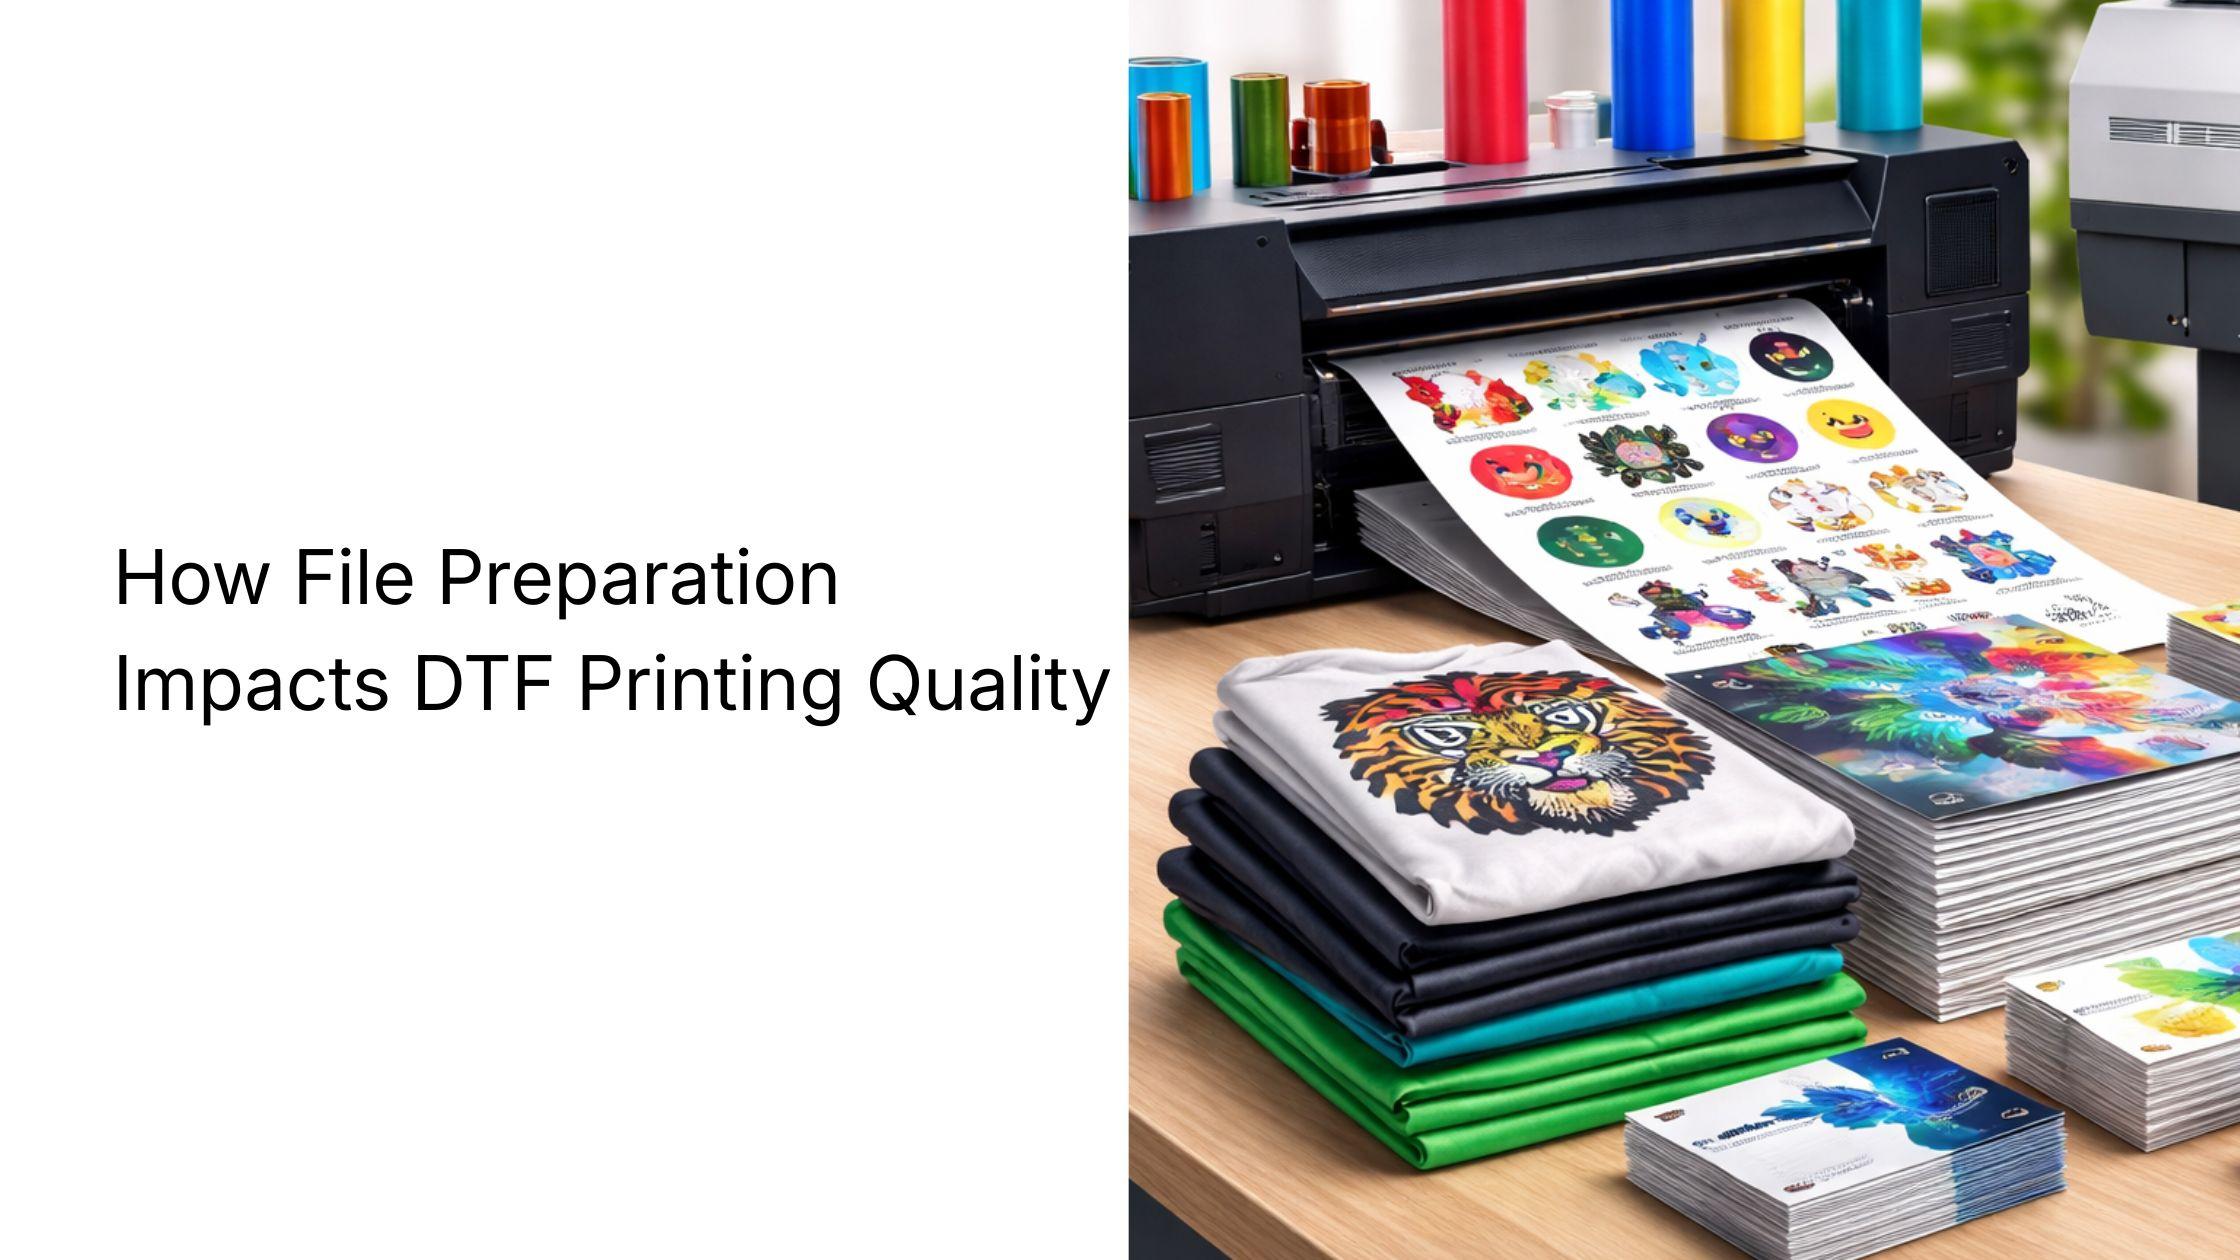
When it comes to bad output in DTF printing, most people would blame the printer. But here’s the truth: 80% of DTF print issues come from bad files. File preparation is a crucial step before DTF printing that involves choosing and optimizing the right file for printing.
In DTF printing, the printer doesn’t “fix” your design. It prints exactly what you give it. That means if your file is low quality, your print will be too. Understanding how to prepare image files for DTF printing is what separates clean, professional results from costly mistakes.
In this blog, we are going to discuss this critical issue and tell you about the right file type and ways to optimize your image for high-quality print results.
Why File Type Matters More Than You Think
Every file format handles data differently. Some preserve quality. Some destroy it. Depending on which type of image file you choose for DTF printing, the quality may vary. For example, some files handle a transparent background well, and some can’t.
Consequently, you may have to print with a visible background if you choose the wrong file. Similarly, there might be other print issues that you wouldn’t want to occur in your case because they result in costly reprints, delays, and brand damage.
For example:
-
PNG → lossless, supports transparency
-
JPG → compressed, no transparency
-
TIFF → high quality, large file size
If you’re aiming for consistent results—especially in bulk DTF printing—you need a format that maintains detail and accuracy.
That’s why PNG dominates.
The Role of Transparency in Clean Prints
One of the biggest issues in DTF is background handling. If your file doesn’t support transparency, your design prints with a box around it. Not a good look.
PNG solves this by allowing clean cutouts, making your design appear sharp and professional on fabric.
This becomes even more critical in gang sheet printing, where multiple designs are printed together. Any leftover background can ruin the entire sheet.
Resolution and Color: The Silent Killers
Even with the right format, poor settings can ruin everything. Once you choose the right image file format, the next step is to prepare it for actual printing. Resolution and color matter a lot for high-quality printing. Many issues can occur in the final output when these settings are not properly optimized.
-
Low resolution → pixelated prints
-
Wrong color mode → inaccurate colors
-
Over-compression → loss of detail
Always design at 300 DPI and use RGB color mode for best results. These small settings make a huge difference in final output.
Converting Files the Right Way
If your design is in JPG, don’t panic. Just convert it properly. By converting it, you can ensure high resolution and full color design. This will ensure that you get the best quality print.
Here’s how you can convert the JPG file:
-
Remove the background using design tools
-
Clean edges manually
-
Export as PNG
-
Check transparency
Never skip the final check.
Final Takeaway
DTF printing isn’t just about equipment—it’s about preparation. The right file type, resolution, and settings determine whether your print looks average or premium. Use PNG. Maintain 300 DPI. Always check transparency. Do this right, and your prints won’t just look good—they’ll sell better. Remember good printer alone won’t give you the best print result. Your file and preparation also play a vital role in ensuring the best-quality output with sharp colors, fine details, and a vibrant look.
Κατηγορίες
Διαβάζω περισσότερα
A well-maintained commercial property creates a strong first impression for customers, employees, and business partners. Whether you own an office building, retail store, restaurant, warehouse, or healthcare facility, professional painting services play a vital role in maintaining your property's appearance and value. When searching for reliable commercial painters in Hendersonville, NC,...

Every car has a story. For some, it begins with the excitement of their first drive out of a dealership. For others, it ends in a scrapyard after years of service. In Sydney, cars that appear ready for the crusher sometimes take a surprising turn. Rather than being lost to rust, certain vehicles go through a process of rebirth. They are restored, refurbished, and in some cases, transformed into...

Get updated and reliable HPE0-G06 Dumps from HelloDumps. Prepare effectively with expert-verified study materials designed to help you pass your HPE0-G06 certification exam on the first attempt. HPE0-G06 Exam Dumps to Achieve Outstanding Results on Your First Attempt HelloDumps offers highly effective HPE0-G06 exam dumps that perfectly support your preparation for the HPE Morpheus...
Good physical health is the foundation of a strong, energetic, and fulfilling life. When your body functions well, everything else becomes easier—your mind works better, your mood stays balanced, and your daily tasks feel more manageable. Many people know physical health is important, but not everyone understands how to build and maintain it in simple, realistic ways. This...

Learn about CNC tools, types, manufacturers in India, and online buying tips in this simple and complete guide for workshops and industries. What Are CNC Tools and Why Are They Important CNC stands for Computer Numerical Control. CNC machines use software programs to control the movement of cutting equipment. These machines can cut metals like steel, aluminium, brass, and plastics with high...
